MyBatis Generator的簡單使用方法示例
添加配置文件
在項目resource目錄下創建mybatis-generator文件夾

在文件夾下創建generatorConfig.xml,配置需要生成代碼的數據表
<?xml version="1.0" encoding="UTF-8"?>
<!DOCTYPE generatorConfiguration
  PUBLIC "-//mybatis.org//DTD MyBatis Generator Configuration 1.0//EN"
  "http://mybatis.org/dtd/mybatis-generator-config_1_0.dtd">
<generatorConfiguration>
 <properties resource="mybatis-generator/generator.properties"/>
 <!-- 連接數據庫jar包的路徑-->
 <!--<classPathEntry location="d:/java/JavaTools/mysql-connector-java-5.1.48/mysql-connector-java-5.1.48-bin.jar"/>-->
 <context id="DB2Tables" targetRuntime="MyBatis3">
  <commentGenerator>
   <property name="suppressDate" value="true"/>
   <!-- 是否去除自動生成的註釋 true:是 : false:否 -->
   <property name="suppressAllComments" value="true"/>
  </commentGenerator>

  <!--數據庫連接參數 -->
  <jdbcConnection
    driverClass="${driverClassName}"
    connectionURL="${url}"
    userId="${username}"
    password="${password}">
  </jdbcConnection>

  <javaTypeResolver>
   <property name="forceBigDecimals" value="false"/>
  </javaTypeResolver>

  <!-- 實體類的包名和存放路徑 -->
  <javaModelGenerator targetPackage="com.shop.order.bean" targetProject="src/main/java">
   <property name="enableSubPackages" value="true"/>
   <property name="trimStrings" value="true"/>
  </javaModelGenerator>

  <!-- 生成映射文件*.xml的位置-->
  <sqlMapGenerator targetPackage="mapper" targetProject="src/main/resources">
   <property name="enableSubPackages" value="true"/>
  </sqlMapGenerator>

  <!-- 生成DAO的包名和位置 -->
  <javaClientGenerator type="XMLMAPPER" targetPackage="com.shop.order.mapper" targetProject="src/main/java">
   <property name="enableSubPackages" value="true"/>
  </javaClientGenerator>

  <!-- tableName:數據庫中的表名或視圖名;domainObjectName:生成的實體類的類名-->
  <table tableName="book" domainObjectName="Book"
    enableCountByExample="false"
    enableUpdateByExample="false"
    enableDeleteByExample="false"
    enableSelectByExample="false"
    selectByExampleQueryId="false"/>
  <!-- 可以添加多個需要生產代碼的實體-->
  <!--
    <table tableName="xxx" domainObjectName="xxx"
      enableCountByExample="false"
      enableUpdateByExample="false"
      enableDeleteByExample="false"
      enableSelectByExample="false"
      selectByExampleQueryId="false"/>
    ...
    <table tableName="xxx" domainObjectName="xxx"
      enableCountByExample="false"
      enableUpdateByExample="false"
      enableDeleteByExample="false"
      enableSelectByExample="false"
      selectByExampleQueryId="false"/>
  -->
 </context>
</generatorConfiguration>
在文件夾下創建generator.properties配置文件
driverClassName=com.mysql.jdbc.Driver
url=jdbc:mysql://localhost:3306/store?useUnicode=true&characterEncoding=UTF-8&relaxAutoCommit=true&zeroDateTimeBehavior=convertToNull
username=root
password=root
配置Maven
pom.xml中引入依賴
<build>
    <plugins>
      <plugin>
        <groupId>org.mybatis.generator</groupId>
        <artifactId>mybatis-generator-maven-plugin</artifactId>
        <version>1.3.5</version>
        <configuration>
          <configurationFile>src/main/resources/mybatis-generator/generatorConfig.xml</configurationFile>
          <verbose>true</verbose>
          <overwrite>true</overwrite>
        </configuration>
        <executions>
          <execution>
            <id>Generate MyBatis Artifacts</id>
            <goals>
              <goal>generate</goal>
            </goals>
          </execution>
        </executions>
        <dependencies>
          <dependency>
            <groupId>org.mybatis.generator</groupId>
            <artifactId>mybatis-generator-core</artifactId>
            <version>1.3.5</version>
          </dependency>
          <dependency>
            <groupId>mysql</groupId>
            <artifactId>mysql-connector-java</artifactId>
            <version>5.1.30</version>
          </dependency>
        </dependencies>
      </plugin>
    </plugins>
  </build>
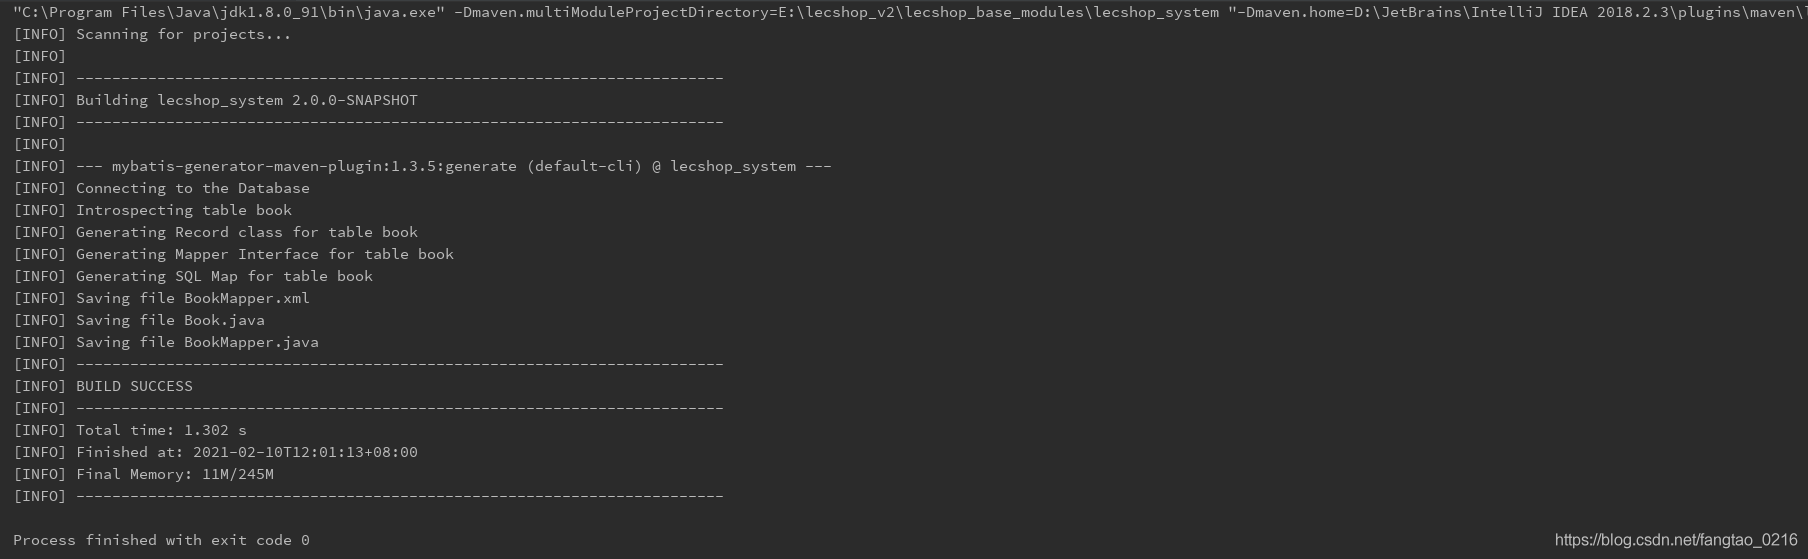
執行Maven插件
雙擊運行mybatis-generator:generate
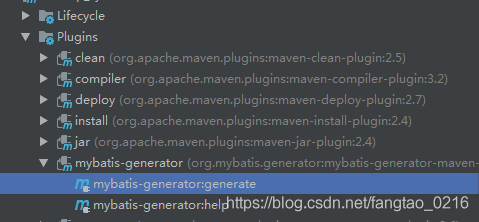
控制臺輸出結果,生產mapper和bean文件
總結
到此這篇關於MyBatis Generator簡單使用方法的文章就介紹到這瞭,更多相關MyBatis Generator使用內容請搜索WalkonNet以前的文章或繼續瀏覽下面的相關文章希望大傢以後多多支持WalkonNet!
推薦閱讀:
- springboot植入pagerHelper的超詳細教程
- mybatis如何根據表逆向自動化生成代碼實例
- Mybatis Generator具體使用小技巧
- springboot集成mybatis官方生成器
- SpringBoot整合Mybatis Generator自動生成代碼