nginx配置虛擬主機的詳細步驟
虛擬主機使用的是特殊的軟硬件技術,它把一臺運行在因特網上的服務器主機分成一臺臺“虛擬”的主機,每臺虛擬主機都可以是一個獨立的網站,可以具有獨立的域名,具有完整的Intemet服務器功能(WWW、FTP、Email等),同一臺主機上的虛擬主機之間是完全獨立的。從網站訪問者來看,每一臺虛擬主機和一臺獨立的主機完全一樣。

利用虛擬主機,不用為每個要運行的網站提供一臺單獨的Nginx服務器或單獨運行一組Nginx進程。虛擬主機提供瞭在同一臺服務器、同一組Nginx進程上運行多個網站的功能。
配置虛擬主機有三種方法:
- 基於域名的虛擬主機 : 不同的域名、相同的IP(此方式應用最廣泛)
- 基於端口的虛擬主機 : 不使用域名、IP來區分不同站點的內容,而是用不同的TCP端口號
- 基於IP地址的虛擬主機 : 不同的域名、不同的IP ( 需要加網絡接口 ,應用的不廣泛) 基於IP地址

方式一:多網卡多IP
兩個物理網卡,兩個IP
# 兩張物理網卡ens32和ens34
[root@nginx network-scripts]# ifconfig ens32 | awk 'NR==2 {print $2}'
192.168.126.41

[root@nginx network-scripts]# ifconfig ens34 | awk 'NR==2 {print $2}'
192.168.126.42
編輯配置文件,基於每個IP創建一個虛擬主機
# 為防止 /etc/nginx/conf.d/default.conf 配置文件影響,對其進行重命名
[root@nginx ~]# mv /etc/nginx/conf.d/default.conf /etc/nginx/conf.d/default

[root@nginx ~]# vim /etc/nginx/conf.d/ip.conf
# ens32網卡對應的虛擬主機
server {
  listen 192.168.126.41:80;

  location / {
    root /ip_ens32;
    index index.html;
  }
}

# ens34 網卡對應的虛擬主機
server {
  listen 192.168.126.42:80;

  location / {
    root /ip_ens34;
    index index.html;
  }
}
創建虛擬主機的網頁文件目錄及文件
[root@nginx ~]# mkdir /ip_ens32
[root@nginx ~]# mkdir /ip_ens34

[root@nginx ~]# echo "ens32" > /ip_ens32/index.html
[root@nginx ~]# echo "ens34" > /ip_ens34/index.html
檢查配置文件的語法
[root@nginx ~]# nginx -t
nginx: the configuration file /etc/nginx/nginx.conf syntax is ok
nginx: configuration file /etc/nginx/nginx.conf test is successful
重載nginx服務
[root@nginx ~]# systemctl reload nginx
測試
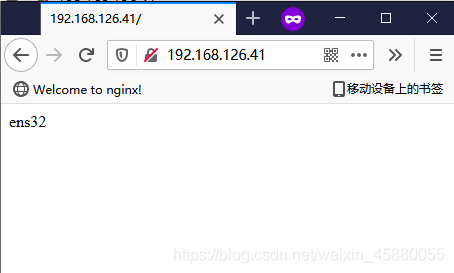
[root@nginx ~]# curl 192.168.126.41
ens32
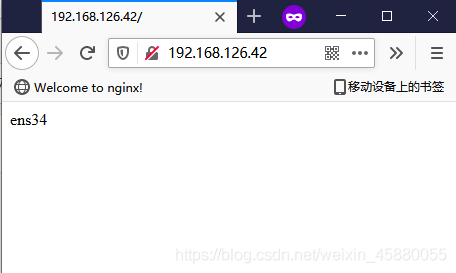
[root@nginx ~]# curl 192.168.126.42
ens34
方式二:單網卡多IP
為一個物理網卡配置多個ip
ip addr add IP/MASK dev 網卡名

# 刪除
ip addr del IP/MASK dev 網卡名
其餘步驟同上面多網卡多IP的配置
基於端口

多使用於公司內部,無法使用域名或沒有域名時
配置
[root@nginx ~]# vim /etc/nginx/conf.d/port.conf
server {
  listen 81;

  location / {
    root /port_81;
    index index.html;
  }
}

server {
  listen 82;

  location / {
    root /port_82;
    index index.html;
  }
}

[root@nginx ~]# mkdir /port_{81..82}
[root@nginx ~]# echo "81" > /port_81/index.html
[root@nginx ~]# echo "82" > /port_82/index.html

[root@nginx ~]# nginx -t
nginx: the configuration file /etc/nginx/nginx.conf syntax is ok
nginx: configuration file /etc/nginx/nginx.conf test is successful
[root@nginx ~]# systemctl reload nginx
測試
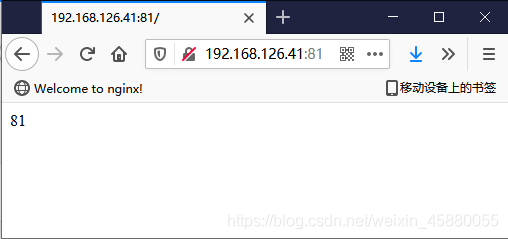
[root@nginx ~]# curl 192.168.126.41:81
81
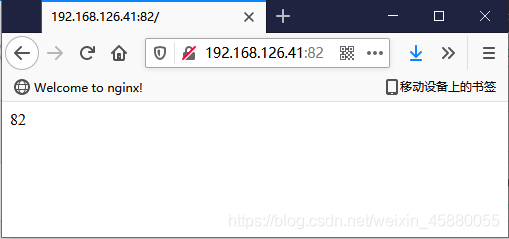
[root@nginx ~]# curl 192.168.126.41:82
82
基於域名

配置
一般一個域名對應一個配置文件,便於管理
[root@nginx ~]# vim /etc/nginx/conf.d/test1.dxk.com.conf
server {
  listen 80;
  server_name test1.dxk.com;

  location / {
    root /test1;
    index index.html;
  }
}

[root@nginx ~]# vim /etc/nginx/conf.d/test2.dxk.com.conf
server {
  listen 80;
  server_name test2.dxk.com;

  location / {
    root /test2;
    index index.html;
  }
}

[root@nginx ~]# mkdir /test{1..2}
[root@nginx ~]# echo "test1" > /test1/index.html
[root@nginx ~]# echo "test2" > /test2/index.html

[root@nginx ~]# nginx -t
nginx: the configuration file /etc/nginx/nginx.conf syntax is ok
nginx: configuration file /etc/nginx/nginx.conf test is successful

[root@nginx ~]# systemctl reload nginx
測試
# 配置域名解析
[root@nginx ~]# echo -e "192.168.126.41 test1.dxk.com\n192.168.126.41 test2.dxk.com" >> /etc/hosts
[root@nginx ~]# cat /etc/hosts
127.0.0.1   localhost localhost.localdomain localhost4 localhost4.localdomain4
::1         localhost localhost.localdomain localhost6 localhost6.localdomain6
192.168.126.41 test1.dxk.com
192.168.126.41 test2.dxk.com

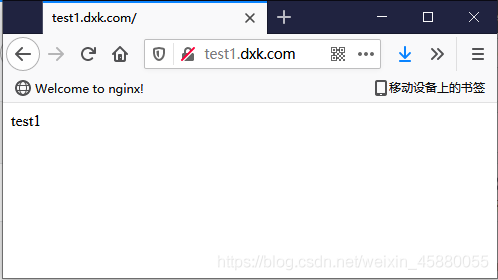
[root@nginx ~]# curl test1.dxk.com
test1
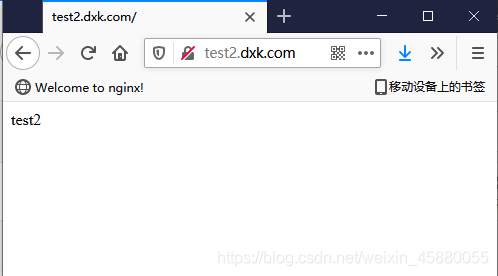
[root@nginx ~]# curl test2.dxk.com
test2

這裡有個問題:
如果在配置域名解析時由於寫錯瞭,那麼訪問該錯誤域名(未配置該錯誤域名的虛擬主機)時竟然還會返回網頁內容。
[root@nginx ~]# vim /etc/hosts
192.168.126.41 test1.dxk.com
192.168.126.41 test3.dxk.com   # 這裡本應該是 test2.dxk.com ,但是由於寫錯瞭,而且對應test3.dxk.com域名的虛擬主機並不存在
訪問該錯誤域名
[root@nginx ~]# curl test3.dxk.com
test1

# 可以看到,還是會返回網頁信息
因為在配置域名解析時,雖然域名寫錯瞭,但是IP是對的,那麼此時服務端默認會返回滿足是該IP且端口為80的排在第一個的虛擬主機的網頁信息給客戶端
[root@nginx ~]# ll /etc/nginx/conf.d/
-rw-r--r--. 1 root root  112 Jul  3 21:23 test1.dxk.com.conf
-rw-r--r--. 1 root root  112 Jul  3 21:22 test2.dxk.com.conf
這是需要註意的
到此這篇關於nginx虛擬主機的文章就介紹到這瞭,更多相關nginx虛擬主機內容請搜索WalkonNet以前的文章或繼續瀏覽下面的相關文章希望大傢以後多多支持WalkonNet!
推薦閱讀:
- 前端必備的一些nginx知識點匯總
- SpringBoot前端後端分離之Nginx服務器下載安裝過程
- nginx配置文件使用環境變量的操作方法
- nginx服務器的下載安裝與使用詳解
- 教你nginx跳轉配置的四種方式