Spring Cloud Stream簡單用法
Spring Cloud Stream對Spring Cloud體系中的Mq進⾏瞭很好的上層抽象,可以讓我們與具體消息中間件解耦合,屏蔽掉瞭底層具體MQ消息中間件的細節差異,就像Hibernate屏蔽掉瞭具體數據庫(Mysql/Oracle⼀樣)。如此⼀來,我們學習、開發、維護MQ都會變得輕松。⽬前Spring Cloud Stream原生⽀持RabbitMQ和Kafka,阿裡在這個基礎上提供瞭RocketMQ的支持
簡單使用Spring Cloud Stream 構建基於RocketMQ的生產者和消費者
生產者
pom文件中加入依賴
<dependencies>
        <dependency>
            <groupId>org.springframework.cloud</groupId>
            <artifactId>spring-cloud-starter-netflix-eureka-client</artifactId>
        </dependency>
        <dependency>
            <groupId>com.alibaba.cloud</groupId>
            <artifactId>spring-cloud-starter-stream-rocketmq</artifactId>
            <version>2.1.0.RELEASE</version>
        </dependency>

    </dependencies>
配置文件中增加關於Spring Cloud Stream binder和bindings的配置
spring:
  application:
    name: zhao-cloud-stream-producer
  cloud:
    stream:
      rocketmq:
        binder:
          name-server: 127.0.0.1:9876
        bindings:
          output:
            producer:
              group: test
              sync: true
      bindings:
        output:
          destination: stream-test-topic
          content-type: text/plain # 內容格式。這裡使用 JSON
其中destination代表生產的數據發送到的topic 然後定義一個channel用於數據發送
import org.springframework.cloud.stream.annotation.Output;
import org.springframework.messaging.MessageChannel;

public interface TestChannel {
    @Output("output")
    MessageChannel output();
}
最後構造數據發送的接口
@Controller
public class SendMessageController {
    @Resource
    private TestChannel testChannel;

    @ResponseBody
    @RequestMapping(value = "send", method = RequestMethod.GET)
    public String sendMessage() {
        String messageId = UUID.randomUUID().toString();
        Message<String> message = MessageBuilder
                .withPayload("this is a test:" + messageId)
                .setHeader(MessageConst.PROPERTY_TAGS, "test")
                .build();
        try {
            testChannel.output().send(message);
            return messageId + "發送成功";
        } catch (Exception e) {
            return messageId + "發送失敗,原因:" + e.getMessage();
        }
    }
}
消費者
消費者的pom引入與生產者相同,在此不再贅述,配置時需要將stream的output修改為input並修改對應屬性
spring:
  application:
    name: zhao-cloud-stream-consumer
  cloud:
    stream:
      rocketmq:
        binder:
          name-server: 127.0.0.1:9876
        bindings:
          input:
            consumer:
              tags: test
      bindings:
        input:
          destination: stream-test-topic
          content-type: text/plain # 內容格式。這裡使用 JSON
          group: test
另外關於channel的構造也要做同樣的修改
import org.springframework.cloud.stream.annotation.Input;
import org.springframework.messaging.SubscribableChannel;

public interface TestChannel {
    @Input("input")
    SubscribableChannel input();
}
最後我在啟動類中對收到的消息進行瞭監聽
   @StreamListener("input")
    public void receiveInput(@Payload Message message) throws ValidationException {
        System.out.println("input1 receive: " + message.getPayload() + ", foo header: " + message.getHeaders().get("foo"));
    }
測試結果


Stream其他特性
消息發送失敗的處理
消息發送失敗後悔發送到默認的一個“topic.errors”的channel中(topic是配置的destination)。要配置消息發送失敗的處理,需要將錯誤消息的channel打開 消費者配置如下
spring:
  application:
    name: zhao-cloud-stream-producer
  cloud:
    stream:
      rocketmq:
        binder:
          name-server: 127.0.0.1:9876
        bindings:
          output:
            producer:
              group: test
              sync: true
      bindings:
        output:
          destination: stream-test-topic
          content-type: text/plain # 內容格式。這裡使用 JSON
          producer:
            errorChannelEnabled: true
在啟動類中配置錯誤消息的Channel信息
 @Bean("stream-test-topic.errors")
    MessageChannel testoutPutErrorChannel(){
        return new PublishSubscribeChannel();
    }
新建異常處理service
import org.springframework.integration.annotation.ServiceActivator;
import org.springframework.messaging.Message;
import org.springframework.stereotype.Service;

@Service
public class ErrorProducerService {

    @ServiceActivator(inputChannel = "stream-test-topic.errors")
    public void receiveProducerError(Message message){
        System.out.println("receive error msg :"+message);
    }
}
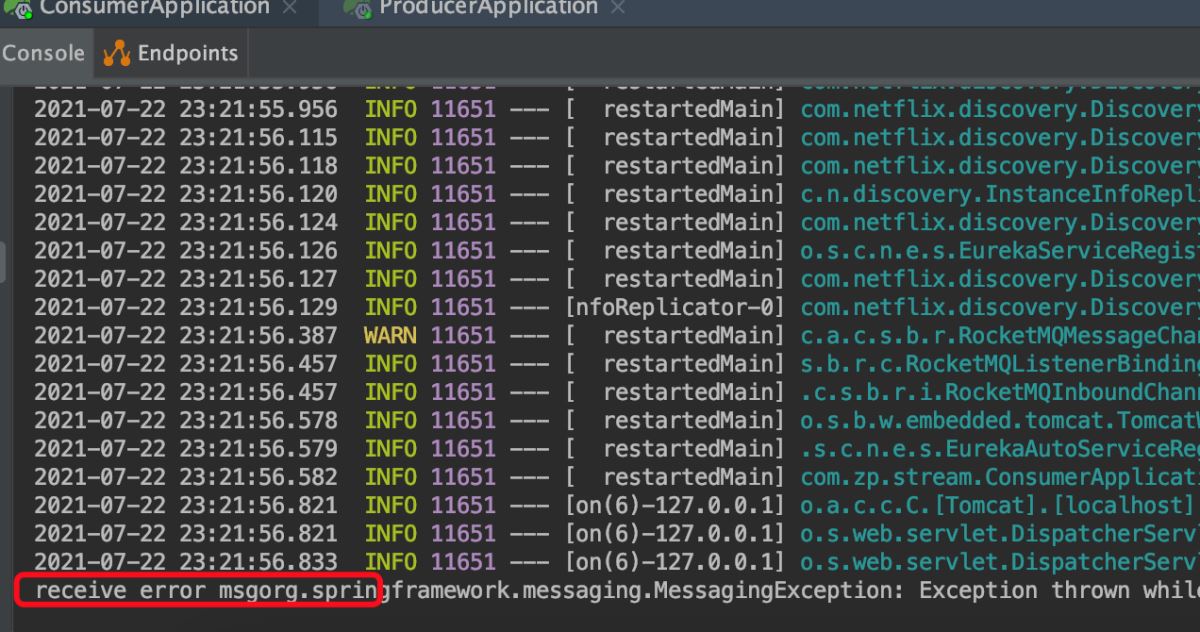
當發生異常時,由於測試類中已經將異常捕獲,處理發送異常主要是在這裡進行。模擬,應用與rocketMq斷開的場景。可見


消費者錯誤處理
首先增加配置為
spring:
  application:
    name: zhao-cloud-stream-producer
  cloud:
    stream:
      rocketmq:
        binder:
          name-server: 127.0.0.1:9876
        bindings:
          output:
            producer:
              group: test
              sync: true
      bindings:
        output:
          destination: stream-test-topic
          content-type: text/plain # 內容格式。這裡使用 JSON
          producer:
            errorChannelEnabled: true
增加相應的模擬異常的操作
 @StreamListener("input")
    public void receiveInput(@Payload Message message) throws ValidationException {
        //System.out.println("input1 receive: " + message.getPayload() + ", foo header: " + message.getHeaders().get("foo"));
        throw new RuntimeException("oops");
    }
    @ServiceActivator(inputChannel = "stream-test-topic.test.errors")
    public void receiveConsumeError(Message message){
        System.out.println("receive error msg"+message.getPayload());
    }
代碼地址https://github.com/zhendiao/deme-code/tree/main/zp
到此這篇關於Spring Cloud Stream簡單用法的文章就介紹到這瞭,更多相關Spring Cloud Stream使用內容請搜索WalkonNet以前的文章或繼續瀏覽下面的相關文章希望大傢以後多多支持WalkonNet!
推薦閱讀:
- RocketMQTemplate 註入失敗的解決
- spring boot學習筆記之操作ActiveMQ指南
- Springboot 整合 RocketMQ 收發消息的配置過程
- Springboot詳解RocketMQ實現廣播消息流程
- 分佈式消息隊列RocketMQ概念詳解