如何利用Opencv實現圖像的加密解密
1、基礎:基於異或操作實現圖像加密解密
一般情況下,圖像的加密和解密過程是通過按位異或運算實現的。將原始圖像與密鑰圖像進行按位異或,可以實現加密,將加密後的圖像與密鑰圖像再進行按位異或可以實現解密過程。
Opencv-python代碼實現
import cv2
import numpy as np

demo = cv2.imread("E:\matlab_file\picture\picture.jpg", 0)
r, c = demo.shape
key = np.random.randint(0, 256, size=(r, c), dtype=np.uint8)  # 生成隨機的密鑰圖像
cv2.imwrite("E:\matlab_file\picture\key.jpg", key)   # 保存密匙圖像

cv2.imshow("demo", demo)  # 顯示原始圖像
cv2.imshow("key", key)  # 顯示密鑰圖像

encryption = cv2.bitwise_xor(demo, key)  # 加密
cv2.imwrite("E:\matlab_file\picture\encryption.jpg", encryption)     # 保存加密後的圖像
decryption = cv2.bitwise_xor(encryption, key)  # 解密
cv2.imwrite("E:\matlab_file\picture\decryption.jpg", decryption) # 保存解密後的圖像

cv2.imshow("encryption", encryption)  # 顯示密文圖像
cv2.imshow("decryption", decryption)  # 顯示解密後的圖像

cv2.waitKey(-1)
cv2.destroyAllWindows()
效果展示:
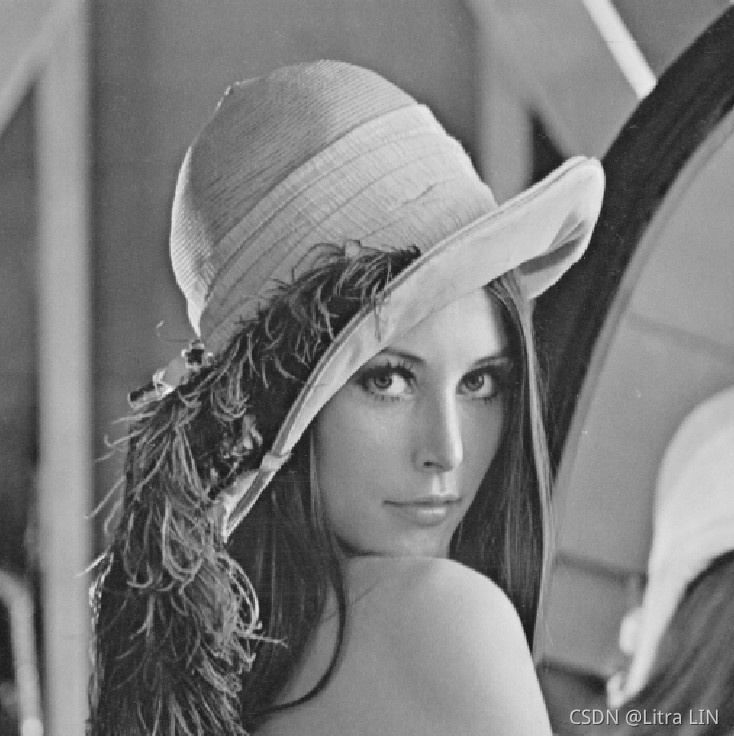
原圖:
密匙:

加密後:

解密後:
2、進階:基於混沌序列構成異或模板實現圖像加密解密
混沌系統是非線性的系統,表現出非常復雜的偽隨機性,符合混淆規則。它對初始條件和控制參數非常敏感,任何微小的初始偏差都會被指數式放大,符合擴散規則。同時,它又是確定性的,可由非線性系統的方程、參數和初始條件完全確定。因此,初始狀態和少量參數的變化就可以產生滿足密碼學基本特征的混沌密碼序列,將混沌理論與加密技術相結合,可以形成良好的圖像加密系統。目前常用於圖像加密的混沌系統有:Logistic混沌映射、Chebychev映射、分段線形混沌映射、Cubic映射、標準映射、Henon映射、Lorenz混沌映射、蔡氏混沌、Rossler混沌系統、二維Sinai映射、Chen’s混沌系統等。在基於混沌的圖像加密方法中,有的利用混沌系統產生偽隨機序列,進行序列密碼形式的加密。有些利用混沌的遍歷性,對產生的偽隨機序列作處理,得到像素置亂後的位置,然後對像素位置進行置亂。有些利用一些混沌計算表達式可逆的特點,將像素值代入混沌計算式以進行像素的代換和擴散。與傳統加密算法相比,混沌圖像加密算法密鑰空間大,實現簡單,加密速度快。但是,基於混沌的圖像加密存在以下不足:①計算機的有限精度可能導致混沌序列的周期比較短,隨機性不好。 ②現有的混沌加密技術大都基於一維或二維混沌系統,容易受到相空間重構方法攻擊。 ③一些混沌加密算法采用瞭形式比較復雜的混沌系統,速度較慢,無法實現實時的加密。
本文使用復合混沌加密算法對圖像金星加密解密,詳細原理見:基於復合混沌系統的數字圖像加密方法
#!/usr/bin/env python
# _*_ coding:utf-8 _*_

"""
@Author       :  LitraLin
@File         : Cryption.py
@CreateTime   : 2021/10/07
@Description  : Compound chaos Encryption and Decryption of image
"""

import cv2
import math
import numpy as np


def int2bin8(x):                               # 整型轉8位二進制
    result="";
    for i in range(8):
        y=x&(1)
        result+=str(y)
        x=x>>1
    return result[::-1]

def int2bin16(x):                              # 整型轉8位二進制
    result="";
    for i in range(16):
        y=x&(1)
        result+=str(y)
        x=x>>1
    return result

def Encryption(img,j0,g0,x0,EncryptionImg):
    x = img.shape[0]
    y = img.shape[1]
    c = img.shape[2]
    g0 = int2bin16(g0)
    for s in range(x):
        for n in range(y):
            for z in range(c):
                m = int2bin8(img[s][n][z])                   # 像素值轉八位二進制
                ans=""
                # print("ok")
                for i in range(8):
                    ri=int(g0[-1])                           # 取手搖密碼機最後一位ri
                    qi=int(m[i])^ri                          # 與像素值異或得qi
                    xi = 1 - math.sqrt(abs(2 * x0 - 1))      # f1(x)混沌迭代
                    if qi==0:                                # 如果qi=0,則運用x0i+x1i=1;
                        xi=1-xi;
                    x0=xi                                    # xi迭代
                    t=int(g0[0])^int(g0[12])^int(g0[15])     # 本源多項式x^15+x^3+1
                    g0=str(t)+g0[0:-1]                       # gi迭代
                    ci=math.floor(xi*(2**j0))%2              # 非線性轉換算子
                    ans+=str(ci)
                re=int(ans,2)
                EncryptionImg[s][n][z]=re                    # 寫入新圖像

def Decryption(EncryptionImg, j0, g0, x0, DecryptionImg):
    x = EncryptionImg.shape[0]
    y = EncryptionImg.shape[1]
    c = EncryptionImg.shape[2]
    g0 = int2bin16(g0)
    for s in range(x):
        for n in range(y):
            for z in range(c):
                cc = int2bin8(img[s][n][z])
                ans = ""
                # print("no")
                for i in range(8):
                    xi = 1 - math.sqrt(abs(2 * x0 - 1))
                    x0 = xi
                    ssi = math.floor(xi * (2 ** j0)) % 2
                    qi=1-(ssi^int(cc[i]))
                    ri = int(g0[-1])
                    mi=ri^qi
                    t = int(g0[0]) ^ int(g0[12]) ^ int(g0[15])
                    g0 = str(t) + g0[0:-1]
                    ans += str(mi)
                re = int(ans, 2)
                DecryptionImg[s][n][z] = re


if __name__ == "__main__":
    img = cv2.imread(r"E:\matlab_file\picture\Correlation_matrix.png", 1)                    # 讀取原始圖像

    EncryptionImg = np.zeros(img.shape, np.uint8)
    Encryption(img,10,30,0.123345,EncryptionImg)                                       # 加密
    cv2.imwrite(r"E:\matlab_file\picture\Correlation_matrix-EncryptionImg.png",EncryptionImg)  # 保存加密後的圖像

    img = cv2.imread(r"E:\matlab_file\picture\Correlation_matrix-EncryptionImg.png", 1)        # 讀取加密圖像
    DecryptionImg = np.zeros(img.shape, np.uint8)
    Decryption(img, 10, 30, 0.123345, DecryptionImg)                                   # 解密
    cv2.imwrite(r"E:\matlab_file\picture\Correlation_matrix-DecryptionImg.png", DecryptionImg) # 保存解密後的圖像

    cv2.waitKey(0)
結果展示:
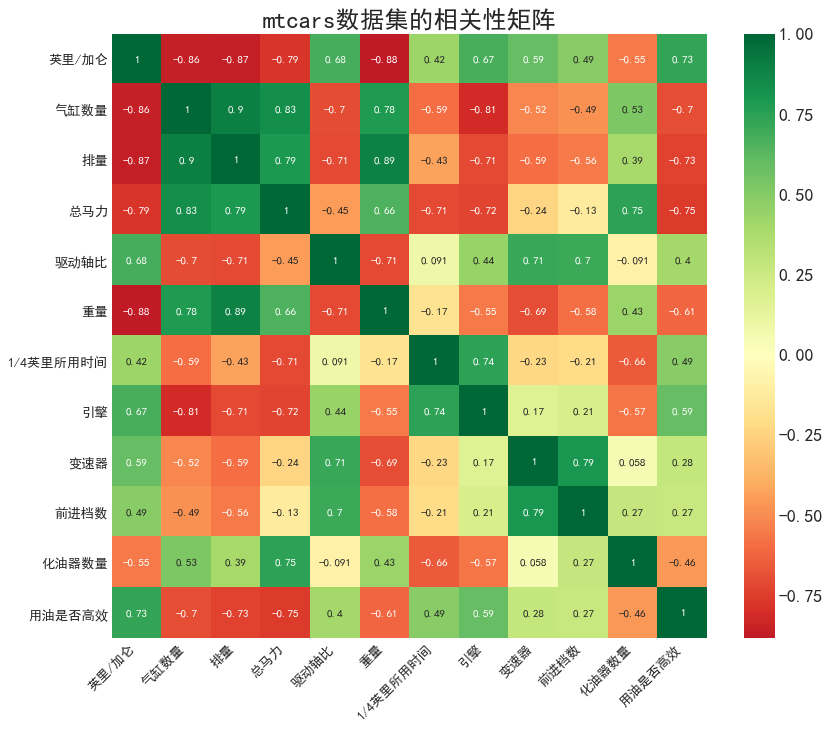
原圖:
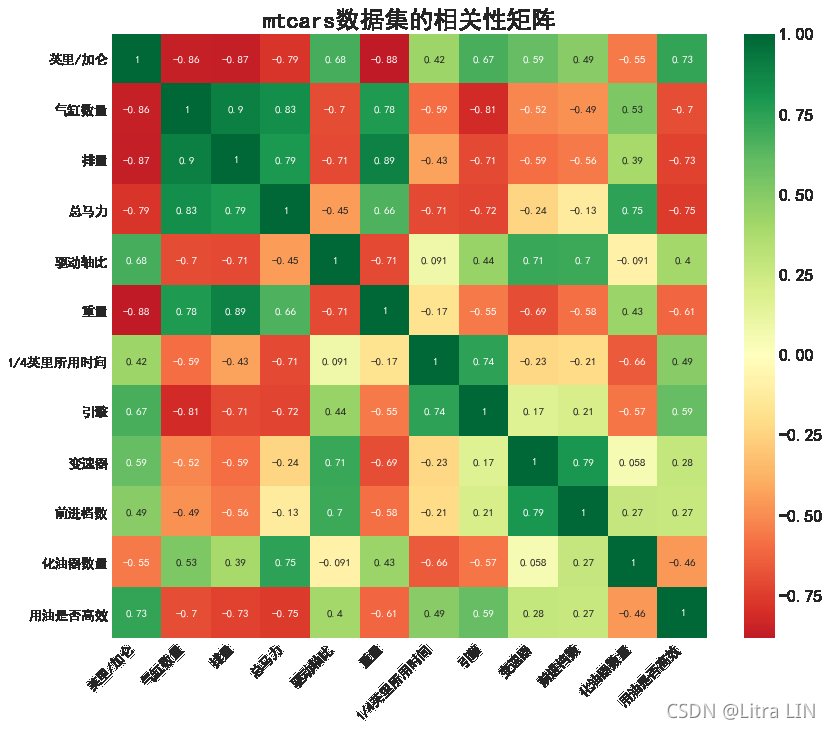
加密後:

解密後:
總結
到此這篇關於如何利用Opencv實現圖像加密解密的文章就介紹到這瞭,更多相關Opencv圖像加密解密內容請搜索WalkonNet以前的文章或繼續瀏覽下面的相關文章希望大傢以後多多支持WalkonNet!
推薦閱讀:
- Python OpenCV對圖像像素進行操作
- python 基於opencv實現圖像增強
- Python+OpenCV實現六種常用圖像特效
- Python實現數字圖像處理染色體計數示例
- Python圖像運算之圖像點運算與灰度化處理詳解