React Router 5.1.0使用useHistory做頁面跳轉導航的實現
在React Router v4中 可以使用
- withRouter組件
- 使用標簽
1.使用withRouter組件
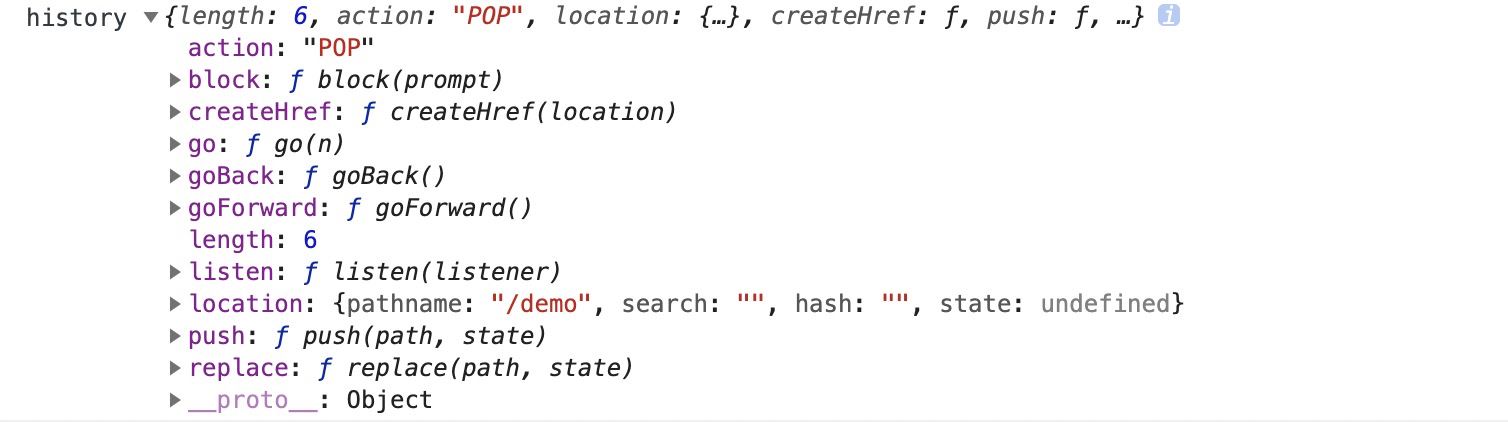
withRouter組件將註入history對象作為該組件的屬性
import React from 'react'
import { withRouter } from 'react-router-dom'
import { Button } from 'antd'

export const ButtonWithRouter = withRouter(({ history }) => {
  console.log('history', history)
  return (
    <Button
      type='default'
      onClick={() => { history.push('/new-location') }}
    >
      Click Me!
    </Button>

  )
})
引入 import { ButtonWithRouter } from ‘./buttonWithRouter'
或者:
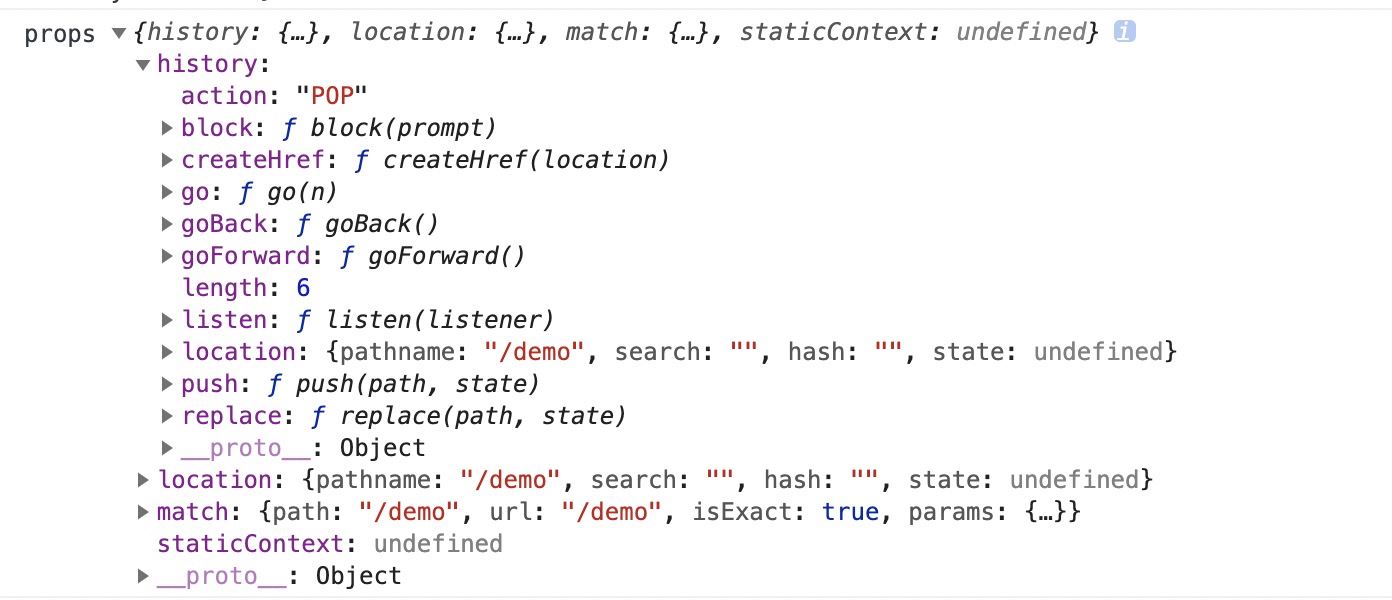
const ButtonWithRouter = (props) => {
  console.log('props', props)
  return (
    <Button
      type='default'
      onClick={() => { props.history.location.push('/new-location') }}
    >
      Click Me!
    </Button>

  )
}

export default withRouter(ButtonWithRouter)
引入: import ButtonWithRouter from ‘./buttonWithRouter'
2、使用Route標簽
在route入口
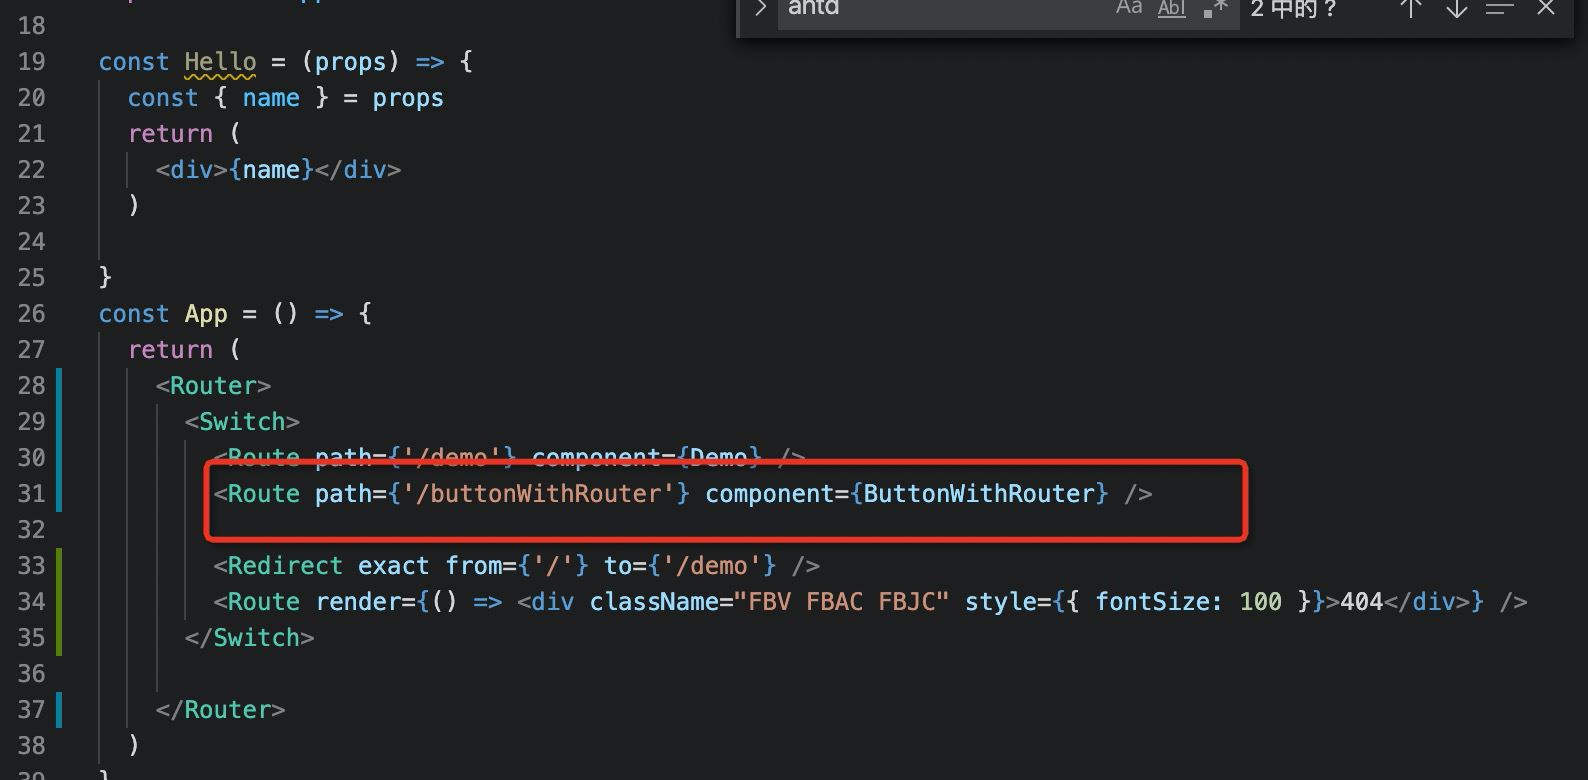
Route組件不僅用於匹配位置。 您可以渲染無路徑的路由,它始終與當前位置匹配。 Route組件傳遞與withRouter相同的屬性,因此能夠通過history的屬性訪問history的方法。
so:
export const ButtonWithRouter = () => (
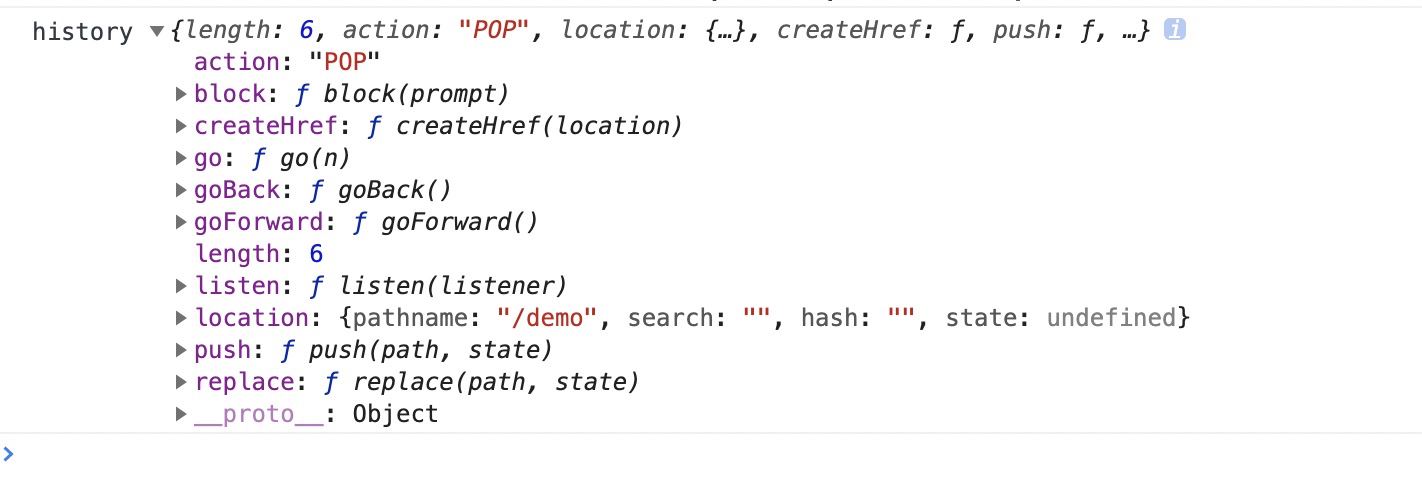
<Route render={({ history }) => {
console.log('history', history)
return (
<button
type='button'
onClick={() => { history.push('/new-location') }}
>
Click Me!
</button>
)
}} />
)
React Router 5.1.0使用useHistory
從React Router v5.1.0開始,新增瞭useHistory鉤子(hook),如果是使用React >16.8.0,使用useHistory即可實現頁面跳轉
export const ButtonWithRouter = () => {
  const history = useHistory();
  console.log('history', history)
  return (
    <button
      type='button'
      onClick={() => { history.push('/new-location') }}
    >
      Click Me!
    </button>
  )
}
到此這篇關於React Router 5.1.0使用useHistory做頁面跳轉導航的實現的文章就介紹到這瞭,更多相關ReactRouter useHistory頁面跳轉導航內容請搜索WalkonNet以前的文章或繼續瀏覽下面的相關文章希望大傢以後多多支持WalkonNet!
推薦閱讀:
- React路由攔截模式及withRouter示例詳解
- React組件通信之路由傳參(react-router-dom)
- React中路由參數如何改變頁面不刷新數據的情況
- react-router-dom v6 使用詳細示例
- React 如何向url中添加參數