前端vue+express實現文件的上傳下載示例
新建server.js
yarn init -y
yarn add express nodemon -D
var express = require("express");
const fs = require("fs");
var path = require("path");
const multer = require("multer"); //指定路徑的

var app = express();
app.use(express.json());
app.use(express.urlencoded({ extended: true }));
// 前端解決跨域問題
app.all("*", (req, res, next) => {
  res.header("Access-Control-Allow-Origin", "*");
  next();
});
// 訪問靜態資源
app.use(express.static(path.join(__dirname)));

// 文件上傳
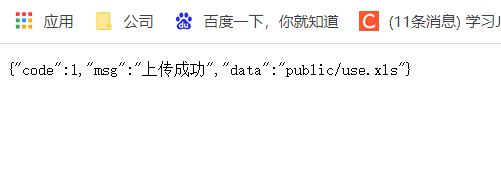
app.post("/upload", multer({ dest: "./public" }).any(), (req, res) => {
  const { fieldname, originalname } = req.files[0];
  // 創建一個新路徑
  const name = fieldname.slice(0, fieldname.indexOf("."));
  const newName = "public/" + name + path.parse(originalname).ext;
  fs.rename(req.files[0].path, newName, function (err) {
    if (err) {
      res.send({ code: 0, msg: "上傳失敗", data: [] });
    } else {
      res.send({ code: 1, msg: "上傳成功", data: newName });
    }
  });
});
// 文件下載
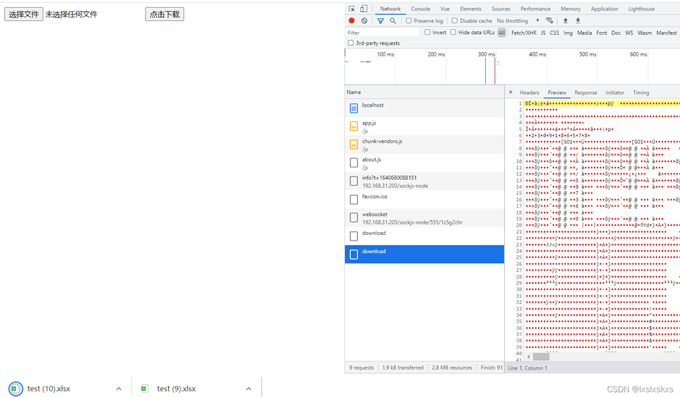
app.get('/download', function(req, res) {
  res.download('./public/test.xls');
});

// 圖片下載
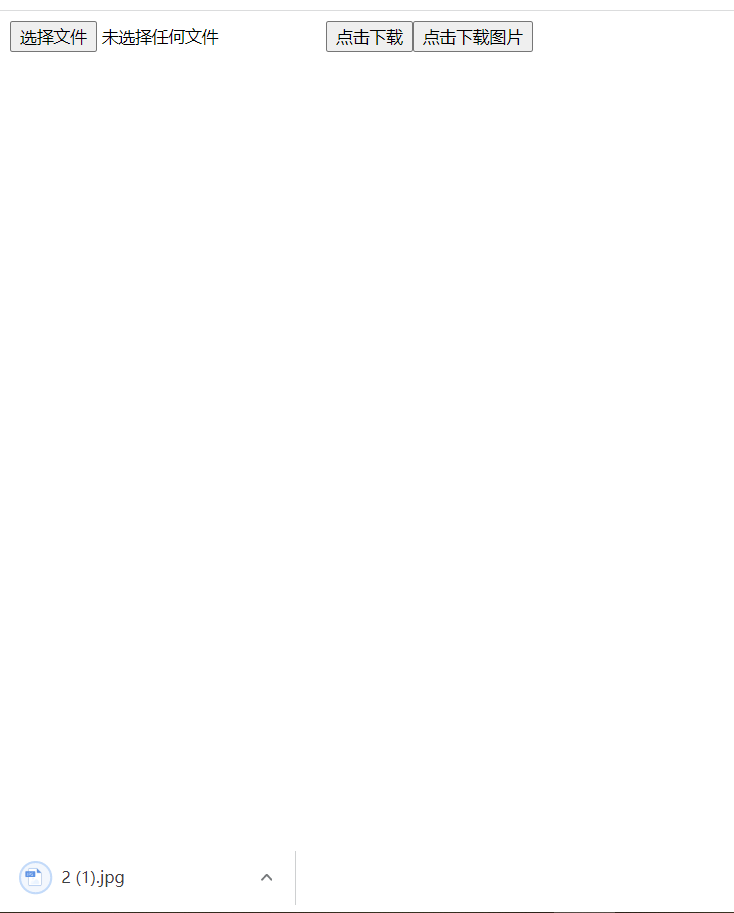
app.get('/download/img', function(req, res) {
  res.download('./public/2.jpg');
});

let port = 9527;
app.listen(port, () => console.log(`端口啟動: http://localhost:${port}`));
(1):前端文件上傳請求
第一種: form表單
  <form action="http://localhost:9527/upload" method="POST" encType="multipart/form-data">
      <input type="file" name="user"/>
      <input type="submit" />
    </form>

第一種: input輸入框
   <input type="file"  @change="changeHandler($event)"/>
     changeHandler(event) {
      let files  = event.target.files[0];
      console.log("files",files)
      let data = new FormData();
      data.append(files.name,files);
      console.log("data",data)
      axios.post("http://localhost:9527/upload",data,{
        headers:{
          "Content-Type":"multipart/form-data"
        }
      }).then(res =>{
        console.log("res",res)
      })
    },

(2):前端文件下載
第一種: 後端返回一個下載的鏈接地址,前端直接使用 即可
第二種: 使用二進制流文件下載
    <input type="button" value="點擊下載" @click="handleDownload">
      handleDownload() {
    axios({
      method: 'get',
      url: "http://localhost:9527/download",
      data: {
        test: "test data"
      },
      responseType: "arraybuffer" // arraybuffer是js中提供處理二進制的接口
    }).then(response => {
      // 用返回二進制數據創建一個Blob實例
      if(!response) return;
      let blob = new Blob([response.data], {
        type: "application/vnd.openxmlformats-officedocument.spreadsheetml.sheet",
      }) // for .xlsx files
      // 通過URL.createObjectURL生成文件路徑
      let url = window.URL.createObjectURL(blob)
      console.log("url==========",url)
      // 創建a標簽
      let ele = document.createElement("a")
      ele.style.display = 'none'
      // 設置href屬性為文件路徑,download屬性可以設置文件名稱
      ele.href = url
      ele.download = this.name
      // 將a標簽添加到頁面並模擬點擊
      document.querySelectorAll("body")[0].appendChild(ele)
      ele.click()
      // 移除a標簽
      ele.remove()
    });
  },

(3) 附加:二進制流圖片的下載
   // 二進制流圖片文件的下載
  downLoadImg() {
     axios({
        method: 'get',
        url: `http://localhost:9527/download/img`,
        responseType: 'arraybuffer',
        params: {
          id: 12
        }
      }).then(res => {
        var src = 'data:image/jpg;base64,' + btoa(new Uint8Array(res.data).reduce((data, byte) => data + String.fromCharCode(byte), ''))
       // this.srcImg = src // 圖片回顯
        var a = document.createElement('a')
        a.href = src
        a.download = '2.jpg'
        a.click()
        a.remove()
      })
    }

到此這篇關於前端vue+express實現文件的上傳下載示例的文章就介紹到這瞭,更多相關vue express文件上傳下載內容請搜索WalkonNet以前的文章或繼續瀏覽下面的相關文章希望大傢以後多多支持WalkonNet!
推薦閱讀:
- 詳解如何使用Node.js實現熱重載頁面
- node+express+axios實現單文件上傳功能
- vue如何實現二進制流文件導出excel
- Blob對象實現文件上傳下載示例詳解
- 前端使用axios實現下載文件功能的詳細過程