如何設置mysql允許外部連接訪問
1.設置mysql允許外部連接訪問(授權):
grant all privileges on *.* to root@'%' identified by '123456' with grant option;
flush privileges;
例子:
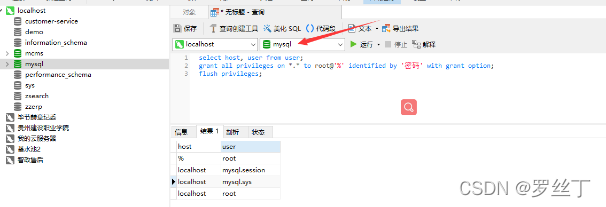
查詢mysql用戶權限、授權、刷新使生效
select host, user from user;
grant all privileges on *.* to root@'%' identified by '密碼' with grant option;
flush privileges;
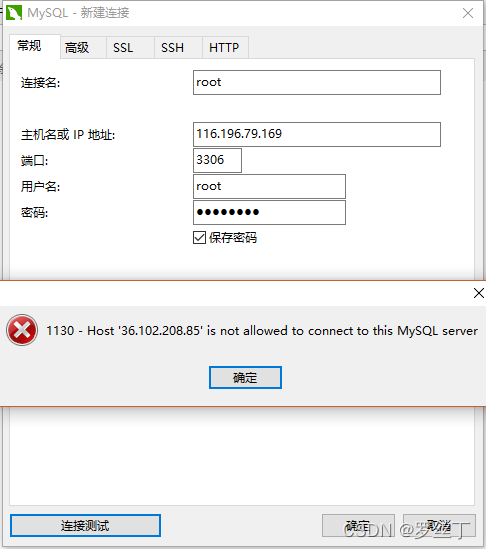
指定ip地址授權:ip地址指的是連接時失敗報錯1130彈出的地址
grant all privileges on *.* to root@'ip地址' identified by '密碼' with grant option;
flush privileges;
沒有權限:

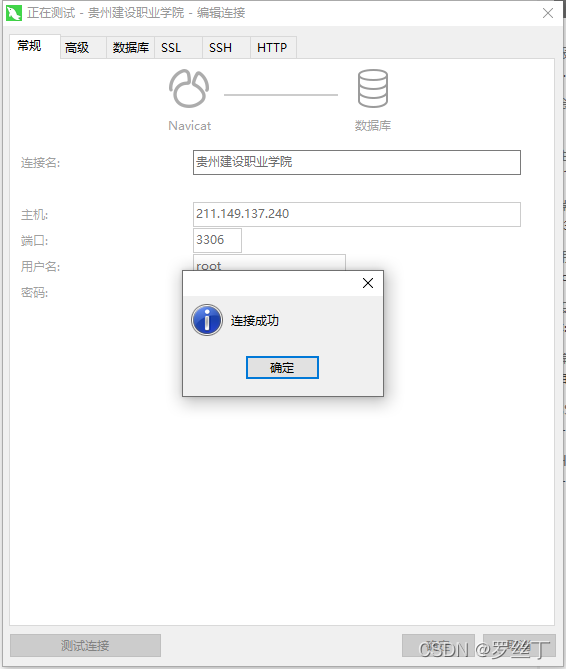
連接成功:

註:不管使用navicat還是命令窗口,都是去操作mysql庫中的user
1,可以使用navicat工具進入到數據庫中mysql庫執行語句;

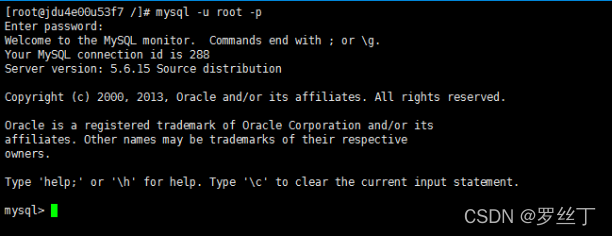
2,使用命令執行,進入到命令窗口,登錄到mysql服務器進入到mysql庫(use mysql)中,執行以上授權語句即可。
連接服務器:
mysql -u root -p

進入mysql數據庫:
use mysql;

查看user表中的數據:
select Host, User,Password from user;

第一種:修改user表的方法
修改user表中的Host:
update user set Host='%' where User='root';

第二種:授權的方法:將上面代碼換為授權的代碼即可;
grant all privileges on *.* to root@'%' identified by '密碼' with grant option;
最後刷新一下:
flush privileges;

2.設置mysql允許外部連接訪問(修改表的方法):
update user set Host='%' where User='root';
flush privileges;
到此這篇關於如何設置mysql允許外部連接訪問的文章就介紹到這瞭,更多相關mysql允許外部連接訪問內容請搜索WalkonNet以前的文章或繼續瀏覽下面的相關文章希望大傢以後多多支持WalkonNet!
推薦閱讀:
- 如何快速修改MySQL用戶的host屬性
- MySQL8.0+版本1045錯誤的問題及解決辦法
- docker mysql修改root賬號密碼並賦予權限
- 解決mysql數據庫設置遠程連接權限執行grant all privileges on *.* to 'root'@'%' identified by '密碼' with grant optio報錯
- 全面分析MySQL ERROR 1045出現的原因及解決