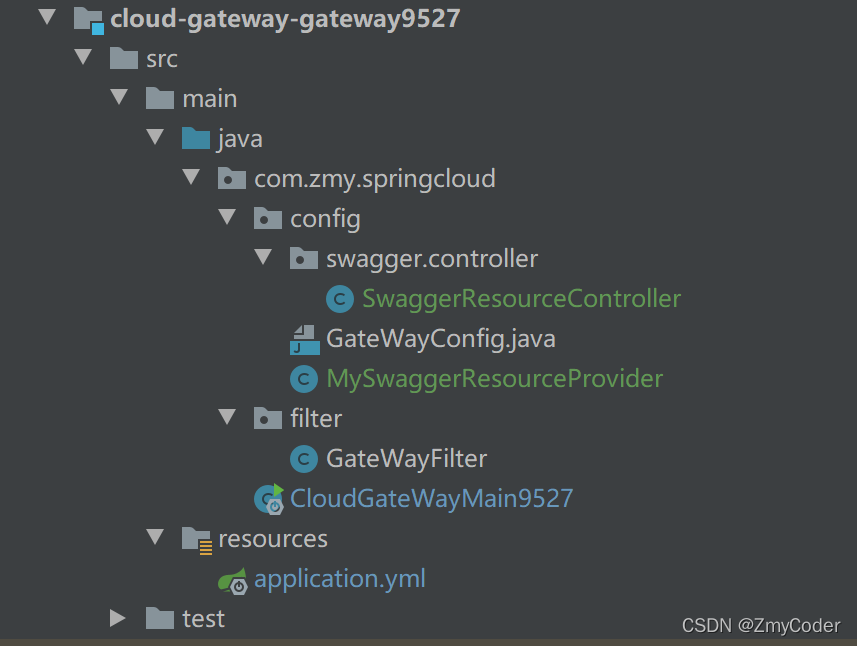
spring-gateway網關聚合swagger實現多個服務接口切換的示例代碼
前提條件
微服務已經集成瞭swagger,並且註冊進瞭nacos。
gateway配置
package com.zmy.springcloud.config;

import org.springframework.beans.factory.annotation.Autowired;
import org.springframework.beans.factory.annotation.Value;
import org.springframework.cloud.gateway.route.RouteLocator;
import org.springframework.stereotype.Component;
import springfox.documentation.swagger.web.SwaggerResource;
import springfox.documentation.swagger.web.SwaggerResourcesProvider;

import java.util.*;

/**
 * 聚合各個服務的swagger接口
 */
@Component
public class MySwaggerResourceProvider implements SwaggerResourcesProvider {
    /**
     * swagger2默認的url後綴
     */
    private static final String SWAGGER2URL = "/v2/api-docs";

    /**
     * 網關路由
     */
    private final RouteLocator routeLocator;

    /**
     * 網關應用名稱
     */
    @Value("${spring.application.name}")
    private String self;

    @Autowired
    public MySwaggerResourceProvider(RouteLocator routeLocator) {
        this.routeLocator = routeLocator;
    }

    @Override
    public List<SwaggerResource> get() {
        List<SwaggerResource> resources = new ArrayList<>();
        List<String> routeHosts = new ArrayList<>();
        // 獲取所有可用的host:serviceId
        routeLocator.getRoutes().filter(route -> route.getUri().getHost() != null)
                .filter(route -> !self.equals(route.getUri().getHost()))
                .subscribe(route -> routeHosts.add(route.getUri().getHost()));

        // 記錄已經添加過的server
        Set<String> dealed = new HashSet<>();
        routeHosts.forEach(instance -> {
            // 拼接url
            String url = "/" + instance.toLowerCase() + SWAGGER2URL;
            if (!dealed.contains(url)) {
                dealed.add(url);
                SwaggerResource swaggerResource = new SwaggerResource();
                swaggerResource.setUrl(url);
                swaggerResource.setName(instance);
                resources.add(swaggerResource);
            }
        });
        return resources;
    }
}
package com.zmy.springcloud.config.swagger.controller;

import com.zmy.springcloud.config.MySwaggerResourceProvider;
import org.springframework.beans.factory.annotation.Autowired;
import org.springframework.http.HttpStatus;
import org.springframework.http.ResponseEntity;
import org.springframework.web.bind.annotation.RequestMapping;
import org.springframework.web.bind.annotation.RestController;
import springfox.documentation.swagger.web.*;

import java.util.List;

/**
 * swagger聚合接口,三個接口都是swagger-ui.html需要訪問的接口
 */
@RestController
@RequestMapping("/swagger-resources")
public class SwaggerResourceController {
    private MySwaggerResourceProvider swaggerResourceProvider;

    @Autowired
    public SwaggerResourceController(MySwaggerResourceProvider swaggerResourceProvider) {
        this.swaggerResourceProvider = swaggerResourceProvider;
    }

    @RequestMapping(value = "/configuration/security")
    public ResponseEntity<SecurityConfiguration> securityConfiguration() {
        return new ResponseEntity<>(SecurityConfigurationBuilder.builder().build(), HttpStatus.OK);
    }

    @RequestMapping(value = "/configuration/ui")
    public ResponseEntity<UiConfiguration> uiConfiguration() {
        return new ResponseEntity<>(UiConfigurationBuilder.builder().build(), HttpStatus.OK);
    }

    @RequestMapping
    public ResponseEntity<List<SwaggerResource>> swaggerResources() {
        return new ResponseEntity<>(swaggerResourceProvider.get(), HttpStatus.OK);
    }
}
<dependency>
    <groupId>org.springframework.cloud</groupId>
    <artifactId>spring-cloud-starter-gateway</artifactId>
</dependency>
<!--swagger生成API文檔-->
<dependency>
    <groupId>io.springfox</groupId>
    <artifactId>springfox-swagger2</artifactId>
    <version>2.9.2</version>
    <exclusions>
        <exclusion>
            <groupId>io.swagger</groupId>
            <artifactId>swagger-models</artifactId>
        </exclusion>
    </exclusions>
</dependency>
<dependency>
    <groupId>io.swagger</groupId>
    <artifactId>swagger-models</artifactId>
    <version>1.5.22</version>
</dependency>
<dependency>
    <groupId>io.springfox</groupId>
    <artifactId>springfox-swagger-ui</artifactId>
    <version>2.9.2</version>
</dependency>
<!--nacos-->
<dependency>
    <groupId>com.alibaba.cloud</groupId>
    <artifactId>spring-cloud-starter-alibaba-nacos-discovery</artifactId>
</dependency>
server:
  port: 9527
spring:
  application:
    name: cloud-gateway
  cloud:
    gateway:
      routes:
        - id: seata-storage-service
          uri: lb://seata-storage-service
          predicates:
            - Path=/seata-storage-service/**         # 斷言,相匹配的進行路由
          filters:
            - StripPrefix=1
        - id: seata-account-service
          uri: lb://seata-account-service
            - Path=/seata-account-service/**
      discovery:
        locator:
          enabled: true #開啟從註冊中心動態創建路由的功能,利用微服務名進行路由
    nacos:
        server-addr: localhost:8848
- StripPrefix=1是必須配置的,跳過- Path的第一段路徑。
http://localhost:2003/v2/api-docs 這個是正確的swagger數據請求地址。不加- StripPrefix=1的話,swagger在請求數據時候會請求http://localhost:2003/seata-account-service/v2/api-docs,這樣就會請求不到數據。
如果不加- StripPrefix=1,也有其他的解決方案,可以在微服務提供者中配置服務上下文路徑
server:
  servlet:
    context-path: /seata-order-service
註意網關的攔截器,不要將swagger請求攔截掉。
到此這篇關於spring-gateway網關聚合swagger實現多個服務接口切換的文章就介紹到這瞭,更多相關spring-gateway網關聚合swagger內容請搜索WalkonNet以前的文章或繼續瀏覽下面的相關文章希望大傢以後多多支持WalkonNet!
推薦閱讀:
- 手把手教你SpringBoot快速集成Swagger的配置過程
- 解決Swagger2返回map復雜結構不能解析的問題
- Spring boot配置 swagger的示例代碼
- 關於springboot集成swagger及knife4j的增強問題
- springboot使用swagger-ui 2.10.5 有關版本更新帶來的問題小結