詳解Android如何實現陰影效果
實現形式
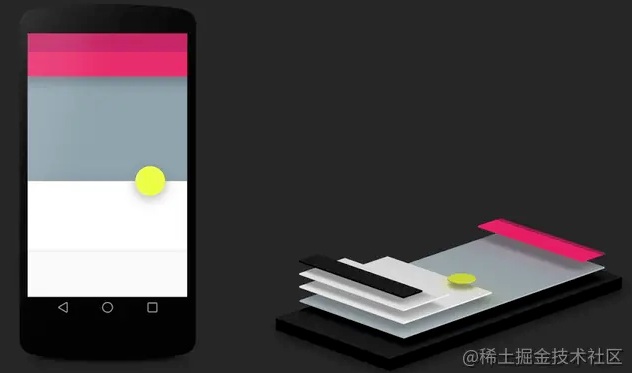
elevation
Material Design提供瞭View的陰影效果設置。主要由兩個屬性決定:elevation和translationZ。
Z = elevation + translationZ
PS:這種實現方式隻有API21以及以上才能支持實現。
elevation屬性表示View高度加上高度就會有陰影效果。 translationZ屬性表示給View增加一個Z軸的變換效果。配合elevation屬性一起使用陰影效果更突出。
<androidx.appcompat.widget.LinearLayoutCompat
    android:layout_margin="15dp"
    android:layout_width="match_parent"
    android:layout_height="100dp"
    android:background="@android:color/holo_blue_bright"
    android:elevation="10dp"
    android:translationZ="10dp"
    android:paddingBottom="10dp"
    />

官網介紹
CardView屬性
CardView是Android提供的官方控件自身支持設置陰影效果。陰影實現由cardElevation和cardMaxElevation實現。
<androidx.cardview.widget.CardView
    android:layout_margin="15dp"
    android:layout_width="match_parent"
    android:layout_height="100dp"
    android:outlineAmbientShadowColor="@android:color/holo_blue_bright"
    android:outlineSpotShadowColor="@android:color/holo_red_dark"
    app:cardElevation="5dp"
    app:cardMaxElevation="10dp"
    />

shadow屬性
若是TextView則可以通過shadow屬性實現陰影效果
<TextView
android:id="@+id/test_shadow"
android:layout_gravity="center"
android:layout_height="wrap_content"
android:layout_width="wrap_content"
android:shadowColor="#aa22ff22"
android:shadowDx="0"
android:shadowDy="0"
android:shadowRadius="10"
android:text="Test Shadow"
android:textColor="#cc000000"
android:textSize="60sp" />
layer配置文件
通過配置xml的layer屬性文件實現陰影效果。使用layer-list實現兩層不同背景色實現疊加實現像是陰影的效果,但最終實現效果並不是例如CardView的漸變陰影效果。
<?xml version="1.0" encoding="utf-8"?>
<layer-list xmlns:android="http://schemas.android.com/apk/res/android">
    <!-- 陰影圖片,android:left表示陰影圖片左邊到背景圖片左邊的距離
    android:top表示陰影圖片上邊到背景圖片上邊的距離-->
    <item android:left="5dp"
        android:top="5dp">
        <shape>
            <solid android:color="#60000000"/>
        </shape>
    </item>
    <!-- 背景圖片,android:right表示陰影圖片右邊到背景圖片右邊的距離
    android:bottom表示陰影圖片下邊到背景圖片下邊的距離-->
    <item android:bottom="5dp"
        android:right="5dp">
        <shape>
            <solid android:color="#000000"/>
        </shape>
    </item>
</layer-list>
自定義實現
自定義形式是通過自定義Drawable實現,該形式實現目標View必須關閉硬件加速。自定義Drawable主要通過重寫draw方法繪制矩形或圓形形狀增加陰影效果。
@Override
public void draw(@NonNull Canvas canvas) {
    if (mBgColor != null) {
        if (mBgColor.length == 1) {
            mBgPaint.setColor(mBgColor[0]);
        } else {
            mBgPaint.setShader(new LinearGradient(mRect.left, mRect.height() / 2, mRect.right,
                    mRect.height() / 2, mBgColor, null, Shader.TileMode.CLAMP));
        }
    }

    if (mShape == SHAPE_ROUND) {
        canvas.drawRoundRect(mRect, mShapeRadius, mShapeRadius, mShadowPaint);
        canvas.drawRoundRect(mRect, mShapeRadius, mShapeRadius, mBgPaint);
    } else {
        canvas.drawCircle(mRect.centerX(), mRect.centerY(), Math.min(mRect.width(), mRect.height())/ 2, mShadowPaint);
        canvas.drawCircle(mRect.centerX(), mRect.centerY(), Math.min(mRect.width(), mRect.height())/ 2, mBgPaint);
    }
}
完整版代碼
小結
| 實現方式 | 優缺點 |
|---|---|
| elevation | 優點:自帶功能實現簡單 缺點:不可自定義顏色 |
| CardView | 優點:自帶功能實現簡單 缺點:自帶圓角不一定可適配所有需求 |
| Textshadow | 優點:自帶功能實現簡單 缺點:隻可在TextView中使用 |
| layer | 優點:實現形式簡單 缺點:效果一般 |
| 自定義實現 | 優點:實現效果好可配置能力高 缺點:需要開發者自行開發 |
到此這篇關於詳解Android如何實現陰影效果的文章就介紹到這瞭,更多相關Android陰影效果內容請搜索WalkonNet以前的文章或繼續瀏覽下面的相關文章希望大傢以後多多支持WalkonNet!
推薦閱讀:
- android UI繪制加減號按鈕
- android自定義對話框實例代碼
- Android自定義彈窗提示效果
- Android自定義ProgressBar實現漂亮的進度提示框
- Androd 勇闖高階性能優化之佈局優化篇