vue使用動態組件實現TAB切換效果完整實例
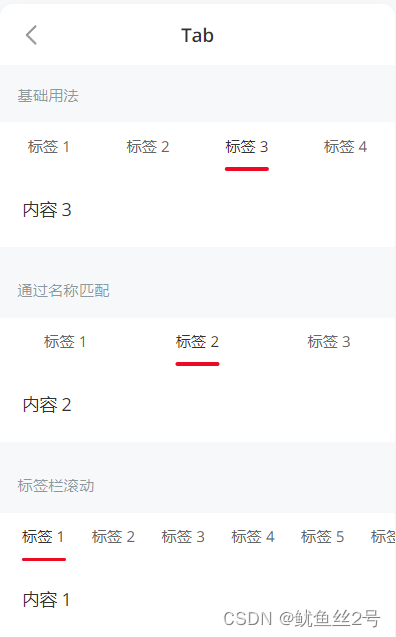
一、方法1:使用Vant組件庫的tab組件
Vant 2 – Mobile UI Components built on Vue
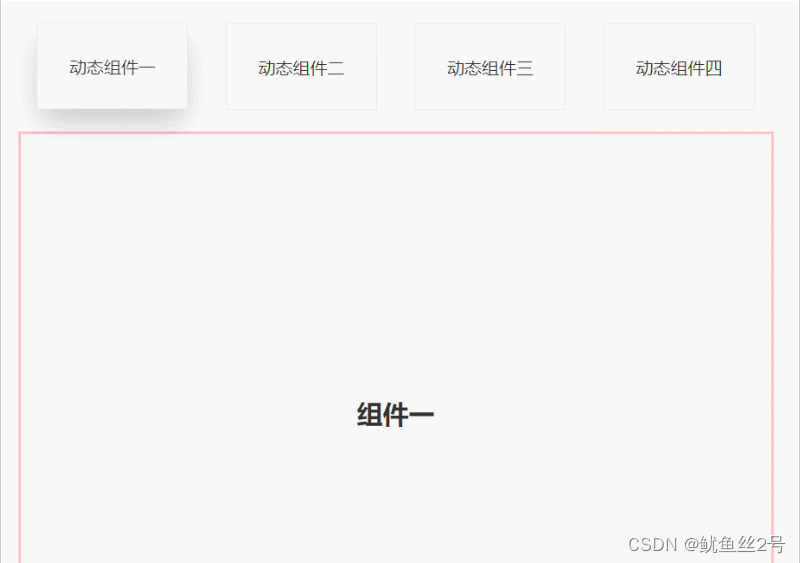
二、 方法2:手動創建tab切換效果
1.在components文件夾下創建切換的.vue頁面、引入使用
import one from "./components/one";
import two from "./components/two";
import three from "./components/three";
import four from "./components/four";
components: {
    one,
    two,
    three,
    four,
},
2.佈局:上面放tab點擊的標簽,下面放組件呈現對應內容
// 然後使用v-for循環出來呈現
<template>
   <div id="app">
      <div class="top">
      <!-- 放置tab點擊標簽 -->
         <div class="crad"
         :class="{ highLight: whichIndex == index }"
         v-for="(item, index) in cardArr"
         :key="index"
         @click="whichIndex = index">
            {{ item.componentName }}
        </div>
      </div>
      <div class="bottom">
        <!-- 放置動態組件... -->
       <!-- keep-alive緩存組件,這樣的話,組件就不會被銷毀,DOM就不會被重新渲染,
       瀏覽器也就不會回流和重繪,就可以優化性能。不使用的話頁面加載就會慢一點 -->
       <keep-alive>
         <component :is="componentId"></component>
       </keep-alive>
      </div>
   </div>
</template>
3.寫好上面的tab點擊標簽,定義數據修改樣式
// 首先我們在data中定義數組cardArr存放點擊tab的數據
data() {
   return {
      whichIndex: 0,
      cardArr: [
        {
          componentName: "動態組件一",
          componentId: "one",
        },{
          componentName: "動態組件二",
          componentId: "two",
        },{
          componentName: "動態組件三",
          componentId: "three",
        },{
          componentName: "動態組件四",
          componentId: "four",
        },
      ],
    };
},
// 又因為需要有高亮狀態樣式:默認索引0高亮
.highLight {
  box-shadow: 0 15px 30px rgba(0, 0, 0, 0.2);
  transform: translate3d(0, -1px, 0);
}
三、完整代碼
<template>
  <div id="app">
    <div class="top">
      <div
        class="crad"
        :class="{ highLight: whichIndex == index }"
        v-for="(item, index) in cardArr"
        :key="index"
        @click="
          whichIndex = index;
          componentId = item.componentId;
        "
      >
        {{ item.componentName }}
      </div>
    </div>
    <div class="bottom">
      <keep-alive>
        <component :is="componentId"></component>
      </keep-alive>
    </div>
  </div>
</template>
<script>
import one from "./components/one";
import two from "./components/two";
import three from "./components/three";
import four from "./components/four";
export default {
  components: {
    one,
    two,
    three,
    four,
  },
  data() {
    return {
      whichIndex: 0,
      componentId: "one",
      cardArr: [
        {
          componentName: "動態組件一",
          componentId: "one",
        },
        {
          componentName: "動態組件二",
          componentId: "two",
        },
        {
          componentName: "動態組件三",
          componentId: "three",
        },
        {
          componentName: "動態組件四",
          componentId: "four",
        },
      ],
    };
  },
};
</script>
<style lang="less" scoped>
#app {
  width: 100%;
  height: 100vh;
  box-sizing: border-box;
  padding: 50px;
  .top {
    width: 100%;
    height: 80px;
    display: flex;
    justify-content: space-around;
    .crad {
      width: 20%;
      height: 80px;
      line-height: 80px;
      text-align: center;
      background-color: #fff;
      border: 1px solid #e9e9e9;
    }
    .highLight {
      box-shadow: 0 15px 30px rgba(0, 0, 0, 0.2);
      transform: translate3d(0, -1px, 0);
    }
  }
  .bottom {
    margin-top: 20px;
    width: 100%;
    height: calc(100% - 100px);
    border: 3px solid pink;
    display: flex;
    justify-content: center;
    align-items: center;
  }
}
</style>
總結
到此這篇關於vue使用動態組件實現TAB切換效果的文章就介紹到這瞭,更多相關vue動態組件實現TAB切換內容請搜索WalkonNet以前的文章或繼續瀏覽下面的相關文章希望大傢以後多多支持WalkonNet!
推薦閱讀:
- vue使用動態組件實現TAB切換效果
- vue子路由跳轉實現tab選項卡效果
- vue中activated的用法
- Vue動態組件和keep-alive組件實例詳解
- vue項目兩種方式實現豎向表格的思路分析