vue實現登錄、註冊、退出、跳轉等功能
本文給大傢介紹vue實現登錄、註冊、退出、跳轉功能,具體代碼如下所示:
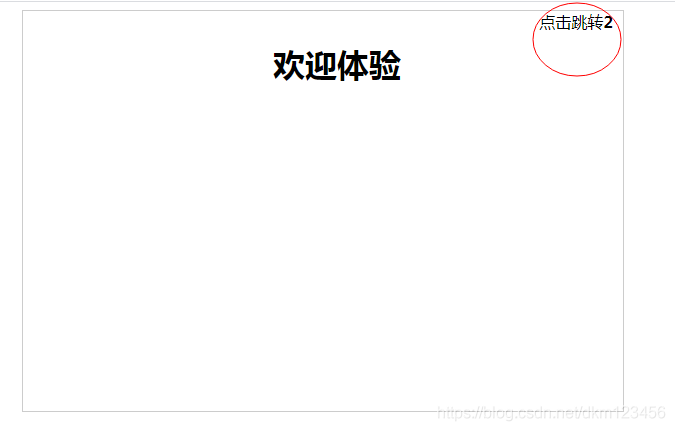
效果圖1:
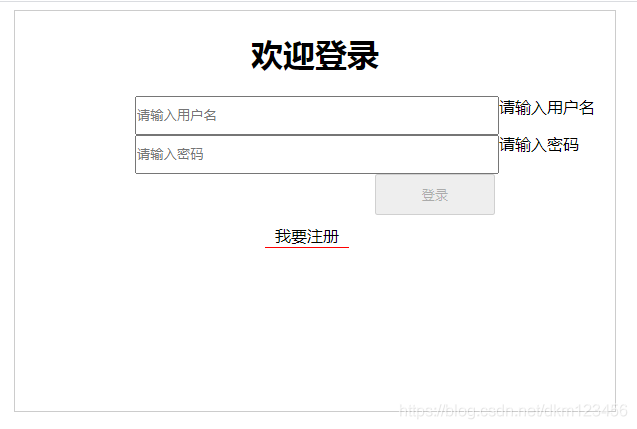
效果圖2:
效果圖3:

效果圖4:

完整實例:
<!DOCTYPE html>
<html>
  <head>
    <meta charset="GBK">
    <title></title>
    <style>
    ul li {

      margin: 0;
      padding: 0;
      list-style: none;
    }
    #app {
      width: 600px;
      height: 400px;
      margin: 0 auto;
      border: 1px solid #ccc;
    }
    .title{
    	text-align:center;
    }
    .tab-tilte{
      width: 99%;
    }
    .tab-tilte li{
      float: left;
      width: 31%;
      padding: 10px 0;
      text-align: center;
      background-color:#f4f4f4;
      cursor: pointer;
    }
   /* 點擊對應的標題添加對應的背景顏色 */
    .tab-tilte .active{
      background-color: #09f;
      color: #fff;
    }
    .tab-content div{
      float: left;
      width: 25%;
      line-height: 100px;
      text-align: center;
    }
    .sider_icon{
				display: inline-block;
				width:36px;
				height:40px;
				line-height:36px;
				font-size:20px;
				text-align:center;
				color:#fff;
				background: url(../images/bubble.png) 0 0 no-repeat;
				top:-20px;
			}
    	.contentli{
    		float: left;
	      padding: 10px 0;
	      text-align: center;
    	}
    	.input{
    		float: left;
    		width: 60%;
    		margin-left:20%;
	      padding: 10px 0;
	      align:center;
    	}
    	.btn{
    		float: left;
	      width: 20%;
	      margin-left:60%;
	      padding: 10px 1px;
	      text-align: center;
    	}
    	.guanggao{
    		float:right;
    		padding-right:10px;
    		cursor:pointer;
    	}
    	#bottomDiv{
    		float: left;
	      margin-left:40%;
	      padding: 10px 10px;
	      text-align: center;
    	}
    	#bottomDiv a{
    			 padding: 1px 10px;
    			 cursor:pointer;
    			 border-bottom:1px solid red;
    	}
    </style>
  </head>
  <body>
  	<div id="app" >
  		<div v-show='page==="advert"'>
  			<span class='guanggao' @click='goLogin'>點擊跳轉<b>{{n}}</b></span>

  			<div id='bottomDiv'>
	  			<h1 class='title'>歡迎體驗</h1>
	  		</div>
  		</div>
  		<div v-show='page==="login"'>
	  		<div>
	  			<h1 class='title'>歡迎登錄</h1>
	  			<div>
		  			<input type="text" v-model='name' class="input" placeholder='請輸入用戶名'>
		  			<p v-show='!name'>請輸入用戶名</p>
	  			</div>
	  			<div>
	  			<input type="text" v-model='pwd' class="input" placeholder='請輸入密碼'>
	  			<p v-show='!pwd'>請輸入密碼</p>
	  			</div>
	  			<button @click="add" :disabled="!name||!pwd" class='btn'>登錄</button>
	  		</div>
	  		<div id='bottomDiv'>
	  			<a @click="goRegister">我要註冊</a>
	  		</div>
  		</div>
  		<div v-show='page==="register"'>
  			<div>
	  			<h1 class='title'>註冊界面,沒寫,哈哈</h1>
  			</div>
  			<div id='bottomDiv'>
	  			<a @click="goLogin">我要登錄</a>
	  		</div>
  		</div>
  		<div v-show='page==="suc"'>
  			<div>
	  			<h1 class='title'>登錄成功</h1>
  			</div>
  			<div id='bottomDiv'>
	  			<a @click="exit">退出登錄</a>
	  		</div>
  		</div>
		</div>
  </body>
  <script src="vue.js"></script>
 	<script>
     new Vue({
      el:'#app',
      data:{
      	page:'advert',//默認是倒計時的顯示廣告 login/register 分別表示登錄、註冊
      	n:5,
      	intervalId:'',
      	name:'',
      	pwd:''
      },
      methods:{
      	autoPlay:function(){
      		//自動進行到計時
      		this.intervalId=setInterval(()=>{
      			if(this.n===0){//當倒計時為0的時候,跳轉登錄界面,並清除定時器
	      			this.page='login';//設置page為login
	      			clearInterval(this.intervalId);
	      			return ;
	      		}
	      		this.n--;
      		},1000);
      	},
      	goLogin:function(){//點擊到登錄界面
      		this.page='login';//設置page為login
      		clearInterval(this.intervalId);
      	},
      	add:function(){
      		//控制跳轉到成功
      		this.page='suc';
      	},
      	goRegister:function(){
      		//控制跳轉到註冊
      		this.page='register';
      		this.name=this.pwd='';
      	},
      	exit:function(){
      		//控制跳轉到登錄
      		this.page='login';
      		this.name=this.pwd='';
      	}
      },
      computed:{

      },
      mounted:function(){
      	//生命周期 mounted就執行 倒計時函數
      	this.autoPlay();
      }
    })
 	</script>

</html>
到此這篇關於vue實現登錄、註冊、退出、跳轉等功能的文章就介紹到這瞭,更多相關vue實現登錄、註冊、退出、跳轉內容請搜索WalkonNet以前的文章或繼續瀏覽下面的相關文章希望大傢以後多多支持WalkonNet!