python OpenCV 實現高斯濾波詳解
一、高斯濾波
高斯濾波是一種線性平滑濾波,適用於消除高斯噪聲,廣泛應用於圖像處理的減噪過程。 [1] 通俗的講,高斯濾波就是對整幅圖像進行加權平均的過程,每一個像素點的值,都由其本身和鄰域內的其他像素值經過加權平均後得到。高斯濾波的具體操作是:用一個模板(或稱卷積、掩模)掃描圖像中的每一個像素,用模板確定的鄰域內像素的加權平均灰度值去替代模板中心像素點的值。
二、C++代碼
#include <opencv2\opencv.hpp>
#include <iostream>

using namespace cv;
using namespace std;

int main()
{
	Mat img = imread("gauss_noise.png");

	if (img.empty())
	{
		cout << "請確認圖像文件名稱是否正確" << endl;
		return -1;
	}
	Mat result_5, result_9;  //存放含噪聲濾波的結果,後面數字代表濾波器尺寸

	 //調用均值濾波函數blur()進行濾波
	GaussianBlur(img, result_5, Size(5, 5), 0, 0);
	GaussianBlur(img, result_9, Size(9, 9), 0, 0);
	//顯示含有高斯噪聲圖像
	imshow("img_gauss", img);
	//顯示去噪結果
	imshow("result_5gauss", result_5);
	imshow("result_9gauss", result_9);

	waitKey(0);
	return 0;
}
三、python代碼
import cv2


# ----------------------讀取圖片-----------------------------
img = cv2.imread('gauss_noise.png')
# ----------------------高斯濾波-----------------------------
result_5 = cv2.GaussianBlur(img, (5, 5), 0)  # 5x5
result_9 = cv2.GaussianBlur(img, (9, 9), 0)  # 9x9
# ----------------------顯示結果-----------------------------
cv2.imshow('origion_pic', img)
cv2.imshow('5x5_filtered_pic', result_5)
cv2.imshow('9x9_filtered_pic', result_9)
cv2.waitKey(0)
四、結果展示
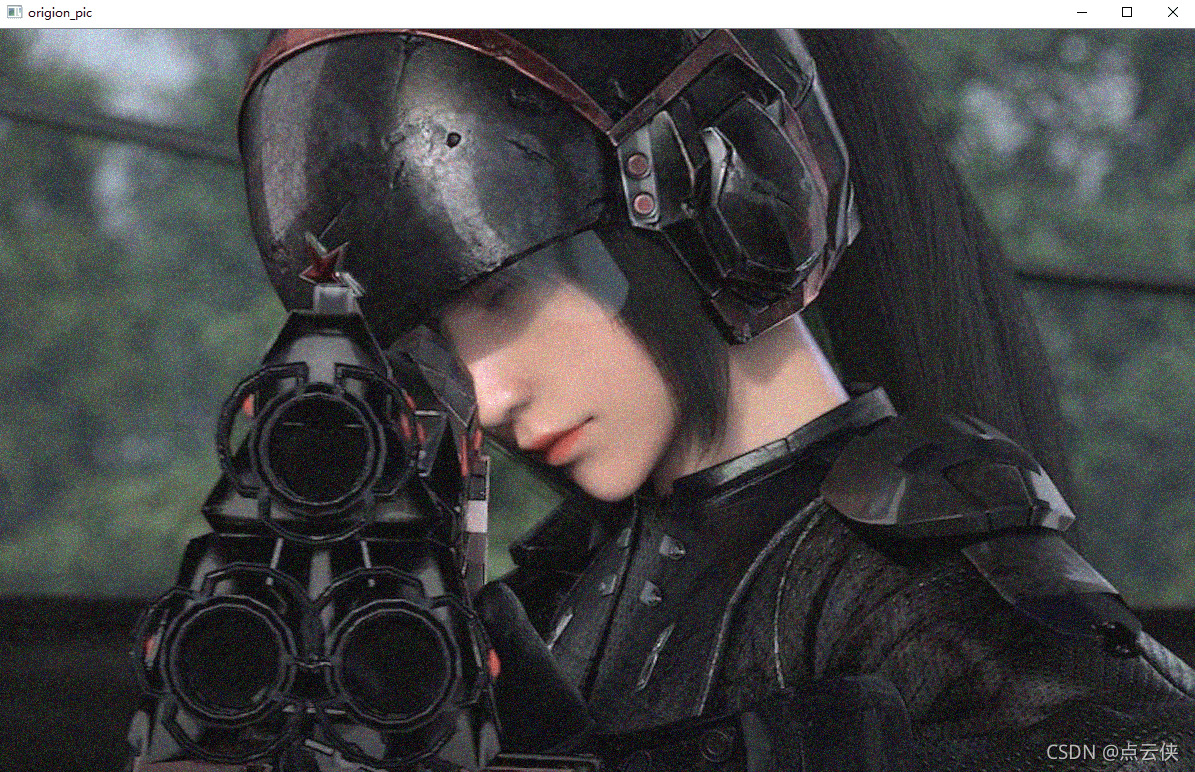
1、原始圖像
2、5×5卷積

3、9×9卷積

到此這篇關於python OpenCV 實現高斯濾波詳解的文章就介紹到這瞭,更多相關Python OpenCV 高斯濾波內容請搜索WalkonNet以前的文章或繼續瀏覽下面的相關文章希望大傢以後多多支持WalkonNet!
推薦閱讀:
- Python使用OpenCV對圖像進行縮放功能
- OpenCV利用高斯模糊實現簡單的磨皮美顏效果
- OpenCV利用對比度亮度變換實現水印去除
- 詳解Python+OpenCV實現圖像二值化
- C++ opencv圖像平滑濾波器使用示例