使用flutter創建可移動的stack小部件功能
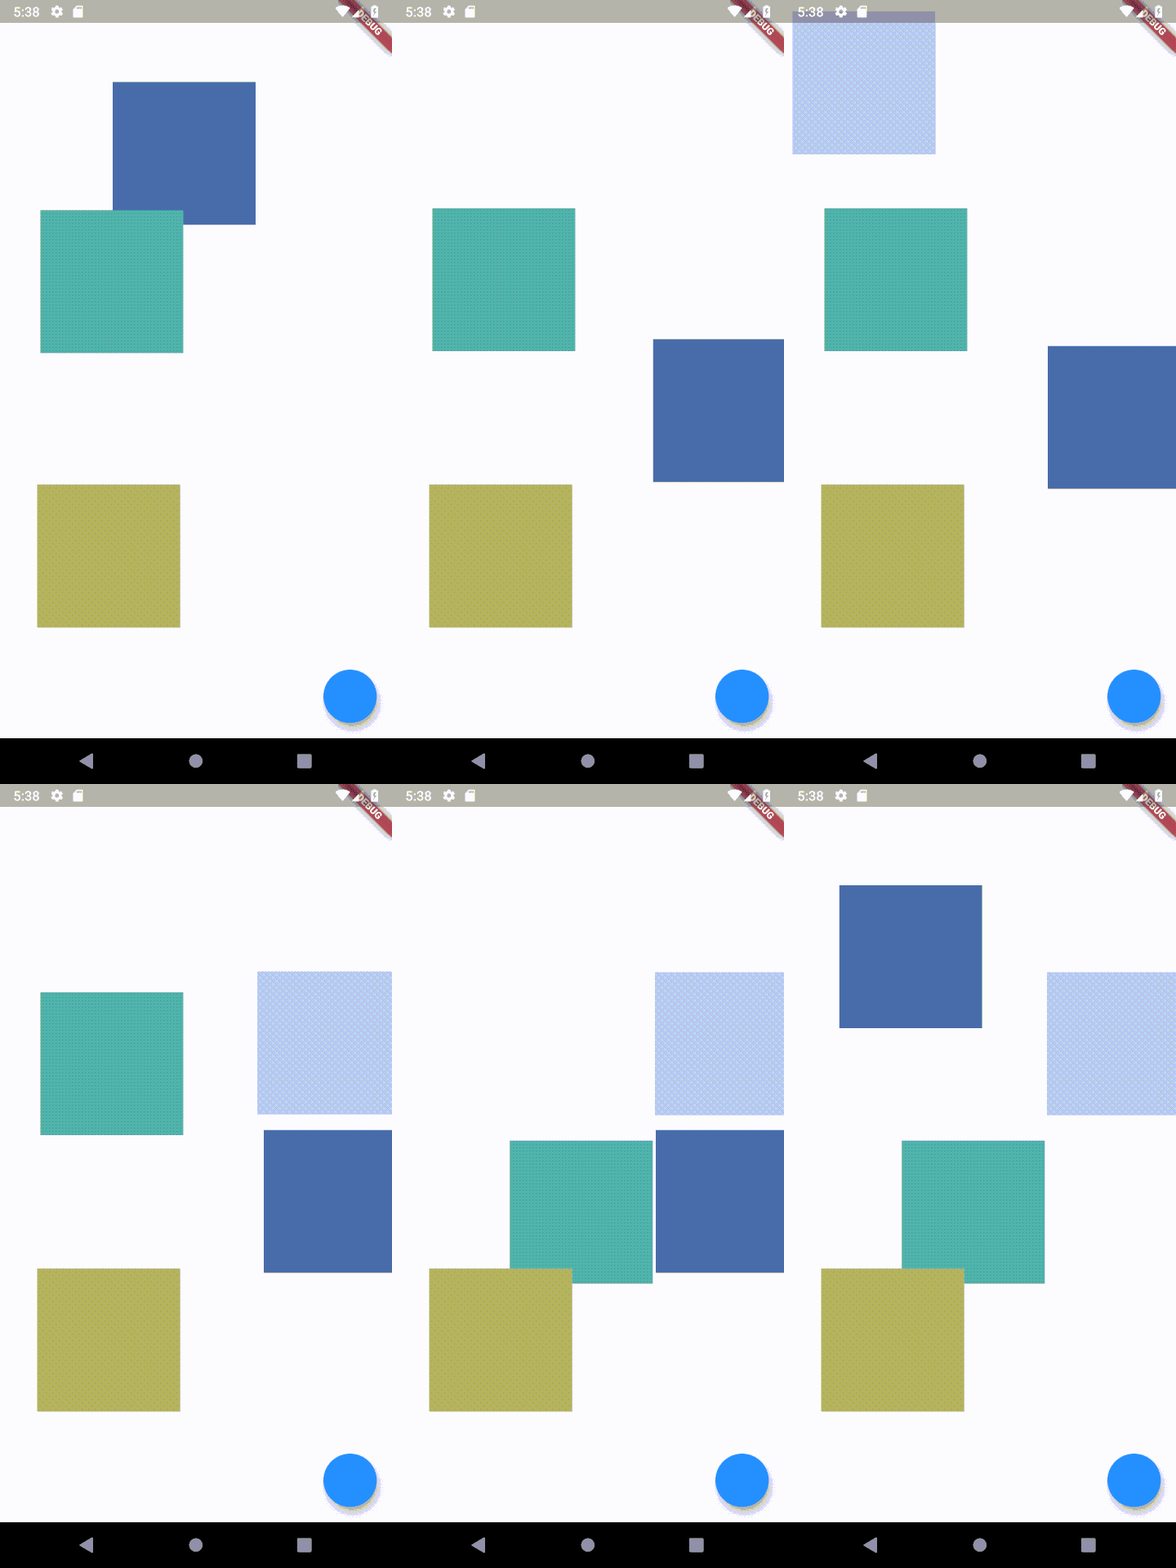
本文主要介紹我為桌面和 Web 設計的一個超級秘密 Flutter 項目使用瞭畫佈和可拖動節點界面。本教程將展示我如何使用堆棧來使用小部件完成可拖動功能
如下所示。

我們將動態地將項目添加到堆棧中並區分它們,我將使用 RandomColor 類型器。所以我們必須添加那個包。
random_color:
然後我們可以創建包含我們的堆棧的 HomeView
class HomeView extends StatefulWidget {
  @override
  _HomeViewState createState() => _HomeViewState();
}

class _HomeViewState extends State<HomeView> {
  List<Widget> movableItems = [];

  @override
  Widget build(BuildContext context) {
    return Scaffold(
        body: Stack(
          children: movableItems,
        ));
  }
}
功能非常簡單。我們將有一個MoveableStackItem有狀態的小部件。它會跟蹤自己的位置和顏色。顏色在初始化時設置,位置通過 更新GestureDetector。
class _MoveableStackItemState extends State<MoveableStackItem> {
  double xPosition = 0;
  double yPosition = 0;
  Color color;

  @override
  void initState() {
    color = RandomColor().randomColor();
    super.initState();
  }

  @override
  Widget build(BuildContext context) {
    return Positioned(
      top: yPosition,
      left: xPosition,
      child: GestureDetector(
        onPanUpdate: (tapInfo) {
          setState(() {
            xPosition += tapInfo.delta.dx;
            yPosition += tapInfo.delta.dy;
          });
        },
        child: Container(
          width: 150,
          height: 150,
          color: color,
        ),
      ),
    );
  }
}
最後要做的是向MoveableStackItem視圖添加一個新的。我們將通過 HomeView 中的浮動操作按鈕來實現。
 return Scaffold(
  floatingActionButton: FloatingActionButton(
    onPressed: () {
      setState(() {
        movableItems.add(MoveableStackItem());
      });
    },
  ),
  body: Stack(
    children: movableItems,
  ));
就是這樣。現在您的視圖上有一個可移動的Stack。
到此這篇關於flutter創建可移動的stack小部件的文章就介紹到這瞭,更多相關flutter stack小部件內容請搜索WalkonNet以前的文章或繼續瀏覽下面的相關文章希望大傢以後多多支持WalkonNet!