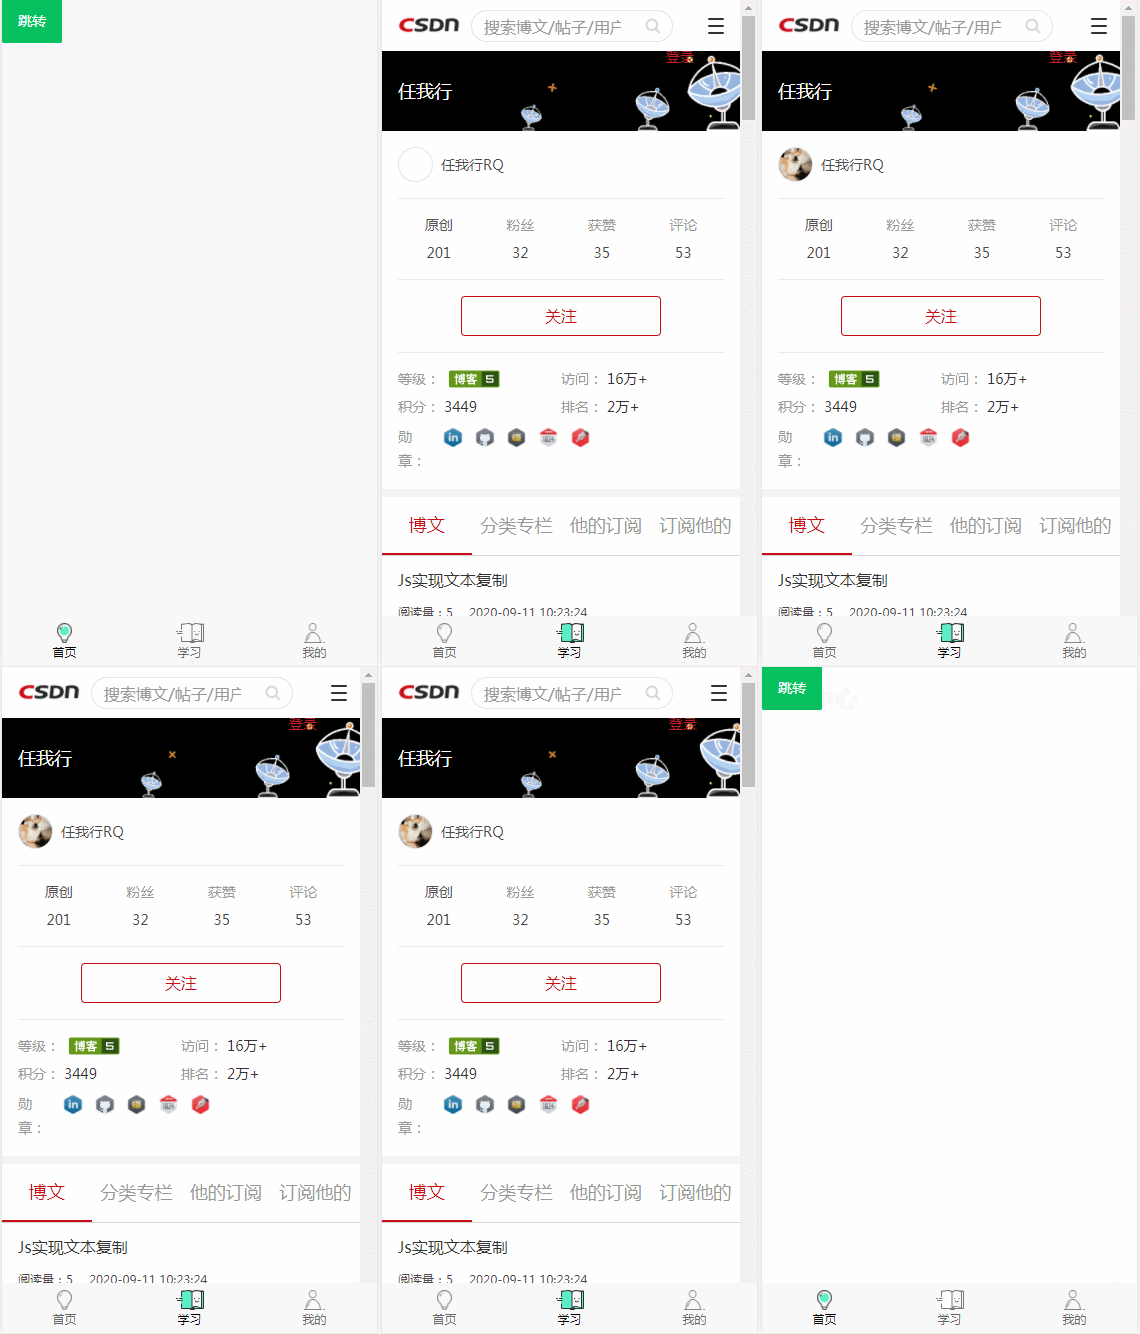
VantUI封裝自定義Tabbar路由跳轉的實現
本文主要介紹瞭VantUI封裝自定義Tabbar路由跳轉的實現,分享給大傢,具體如下:

在src目錄下新建個components文件夾來放自己定義的tabbar組件
<template>
  <div
    v-if="
      $route.name == 'index' ||
        $route.name == 'learn' ||
        $route.name == 'person'
        "
  >
    <van-tabbar v-model="active" inactive-color="#666666" active-color="#000000" fixed placeholder>
      <van-tabbar-item replace v-for="(item, index) in tabbarList" :key="index" :to="item.path">
        <span>{{ item.title }}</span>
        <img slot="icon" slot-scope="props" :src="props.active%20?%20item.active%20:%20item.normal" />
      </van-tabbar-item>
    </van-tabbar>
  </div>
</template>

<script>
export default {
  name: "tabbar",
  data() {
    return {
      active: 0,
      tabbarList: [
        {
          path: "/",
          title: "首頁",
          normal:
            "https://sucai.suoluomei.cn/sucai_zs/images/20190910093117-fx2.png",
          active:
            "https://sucai.suoluomei.cn/sucai_zs/images/20190910093117-fx.png",
        },
        {
          path: "/learn",
          title: "學習",
          normal:
            "https://sucai.suoluomei.cn/sucai_zs/images/20190910093117-xx.png",
          active:
            "https://sucai.suoluomei.cn/sucai_zs/images/20190910093117-xx2.png",
        },
        {
          path: "/person",
          title: "我的",
          normal:
            "https://sucai.suoluomei.cn/sucai_zs/images/20190910093117-wd.png",
          active:
            "https://sucai.suoluomei.cn/sucai_zs/images/20190910093117-wd2.png",
        },
      ],
    };
  },

  //監聽路由變化
  watch: {
    $route(to) {
      this.activeTab(to.path);
    },
  },

  methods: {
    activeTab(path) {
      var index = this.tabbarList.map((item) => item.path).indexOf(path);
      if (index != -1) {
        this.active = index;
      }
    },
  },
};
</script>
引入tabbar組件的頁面到app.vue
<template>
  <div id="app">
  <router-view />
    <tabbar></tabbar>
  </div>
</template>

<script>
import tabbar from "./components/tabbar.vue";  //引用組件的地址
export default {
  components: {
    tabbar
  },
  name: "App",
  data() {
    return {};
  },
  methods: {},

};
</script>
github完整項目
https://github.com/skywalk94/vueWechatH5
到此這篇關於VantUI封裝自定義Tabbar路由跳轉的實現的文章就介紹到這瞭,更多相關Vant封裝Tabbar路由跳轉內容請搜索WalkonNet以前的文章或繼續瀏覽下面的相關文章希望大傢以後多多支持WalkonNet!
推薦閱讀:
- 用Vue封裝導航欄組件
- vue.js使用Element-ui中實現導航菜單
- vue遞歸組件實現elementUI多級菜單
- vue遞歸實現自定義tree組件
- vue實現el-menu和el-tab聯動的示例代碼