uniapp語音識別(訊飛語音)轉文字
常見應用:遊戲界面 文字語音、商城導航欄的語音輸入搜索框、聊天界面的語音文字輸入等.
引自官方 unicloud官方語音:
語音輸入接口可使得網頁開發人員能快速調用設備的麥克風進行語音輸入,而不需要安裝額外的瀏覽器插件。規范不定義底層語音識別引擎的技術架構,瀏覽器實現可基於語音識別服務器或本地內置語音識別模塊。
配置SDK–識別訊飛語音(如果用不瞭訊飛語音,可換百度語音,自己去看接入文檔)
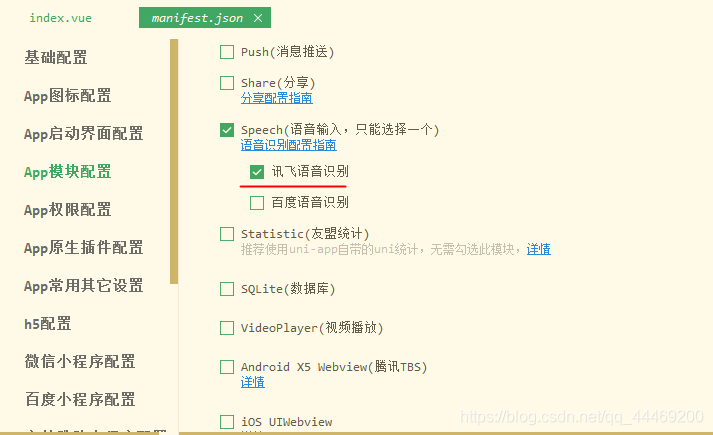
進入項目根目錄下的 manifest.json -> App模塊配置->speech 勾選 訊飛語音識別,如下圖所示:
index.vue文件寫入
<template>
	<view class="content">
		<image class="logo" src="/static/logo.png"></image>
		<button @click="voiceBegain">訊飛語音識別</button>
		<view v-if="words1">
			這是searchValue:{{words1}}
		</view>
		<view v-if="words2">
			這是searchText:{{words2}}
		</view>
	</view>
</template>

<script>
	export default {
		data() {
			return {
				title: 'Hello',
				words1: '',
				words2: ''
			}
		},
		onLoad() {

		},
		methods: {
			send() {
				uniCloud.callFunction({
					name: 'sendcode',
					success: (e) => {
						console.log('這是發送驗證碼', e);
					}
				})
			},
			// 調用訊飛語音識別
			voiceBegain() {
				let _this = this;
				let options = {};
				//#ifdef APP-PLUS || APP-PLUS-NVUE
				options.engine = 'iFly';
				options.punctuation = false; // 是否需要標點符號
				options.timeout = 10 * 1000; //語音錄入持續時長
				plus.speech.startRecognize(options, function(s) {
					_this.searchText = _this.searchText + s;
					console.log(_this.searchText) //拿到語音識別的結果
					//下面是邏輯
					_this.searchValue = s;
					_this.searchText = ""

					// 打印輸出結果
					 _this.words1 = _this.searchValue
					 _this.words2 = _this.searchText

					// 關閉語音
					plus.speech.stopRecognize();
				});
				//#endif
				// #ifdef H5
				alert("隻有h5平臺才有alert方法")
				// #endif
			}
		}
	}
</script>

<style>
	.content {
		display: flex;
		flex-direction: column;
		align-items: center;
		justify-content: center;
	}

	.logo {
		height: 200rpx;
		width: 200rpx;
		margin-top: 200rpx;
		margin-left: auto;
		margin-right: auto;
		margin-bottom: 50rpx;
	}

	.text-area {
		display: flex;
		justify-content: center;
	}

	.title {
		font-size: 36rpx;
		color: #8f8f94;
	}
</style>
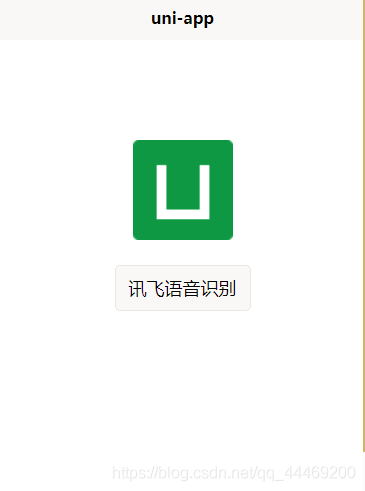
如圖:
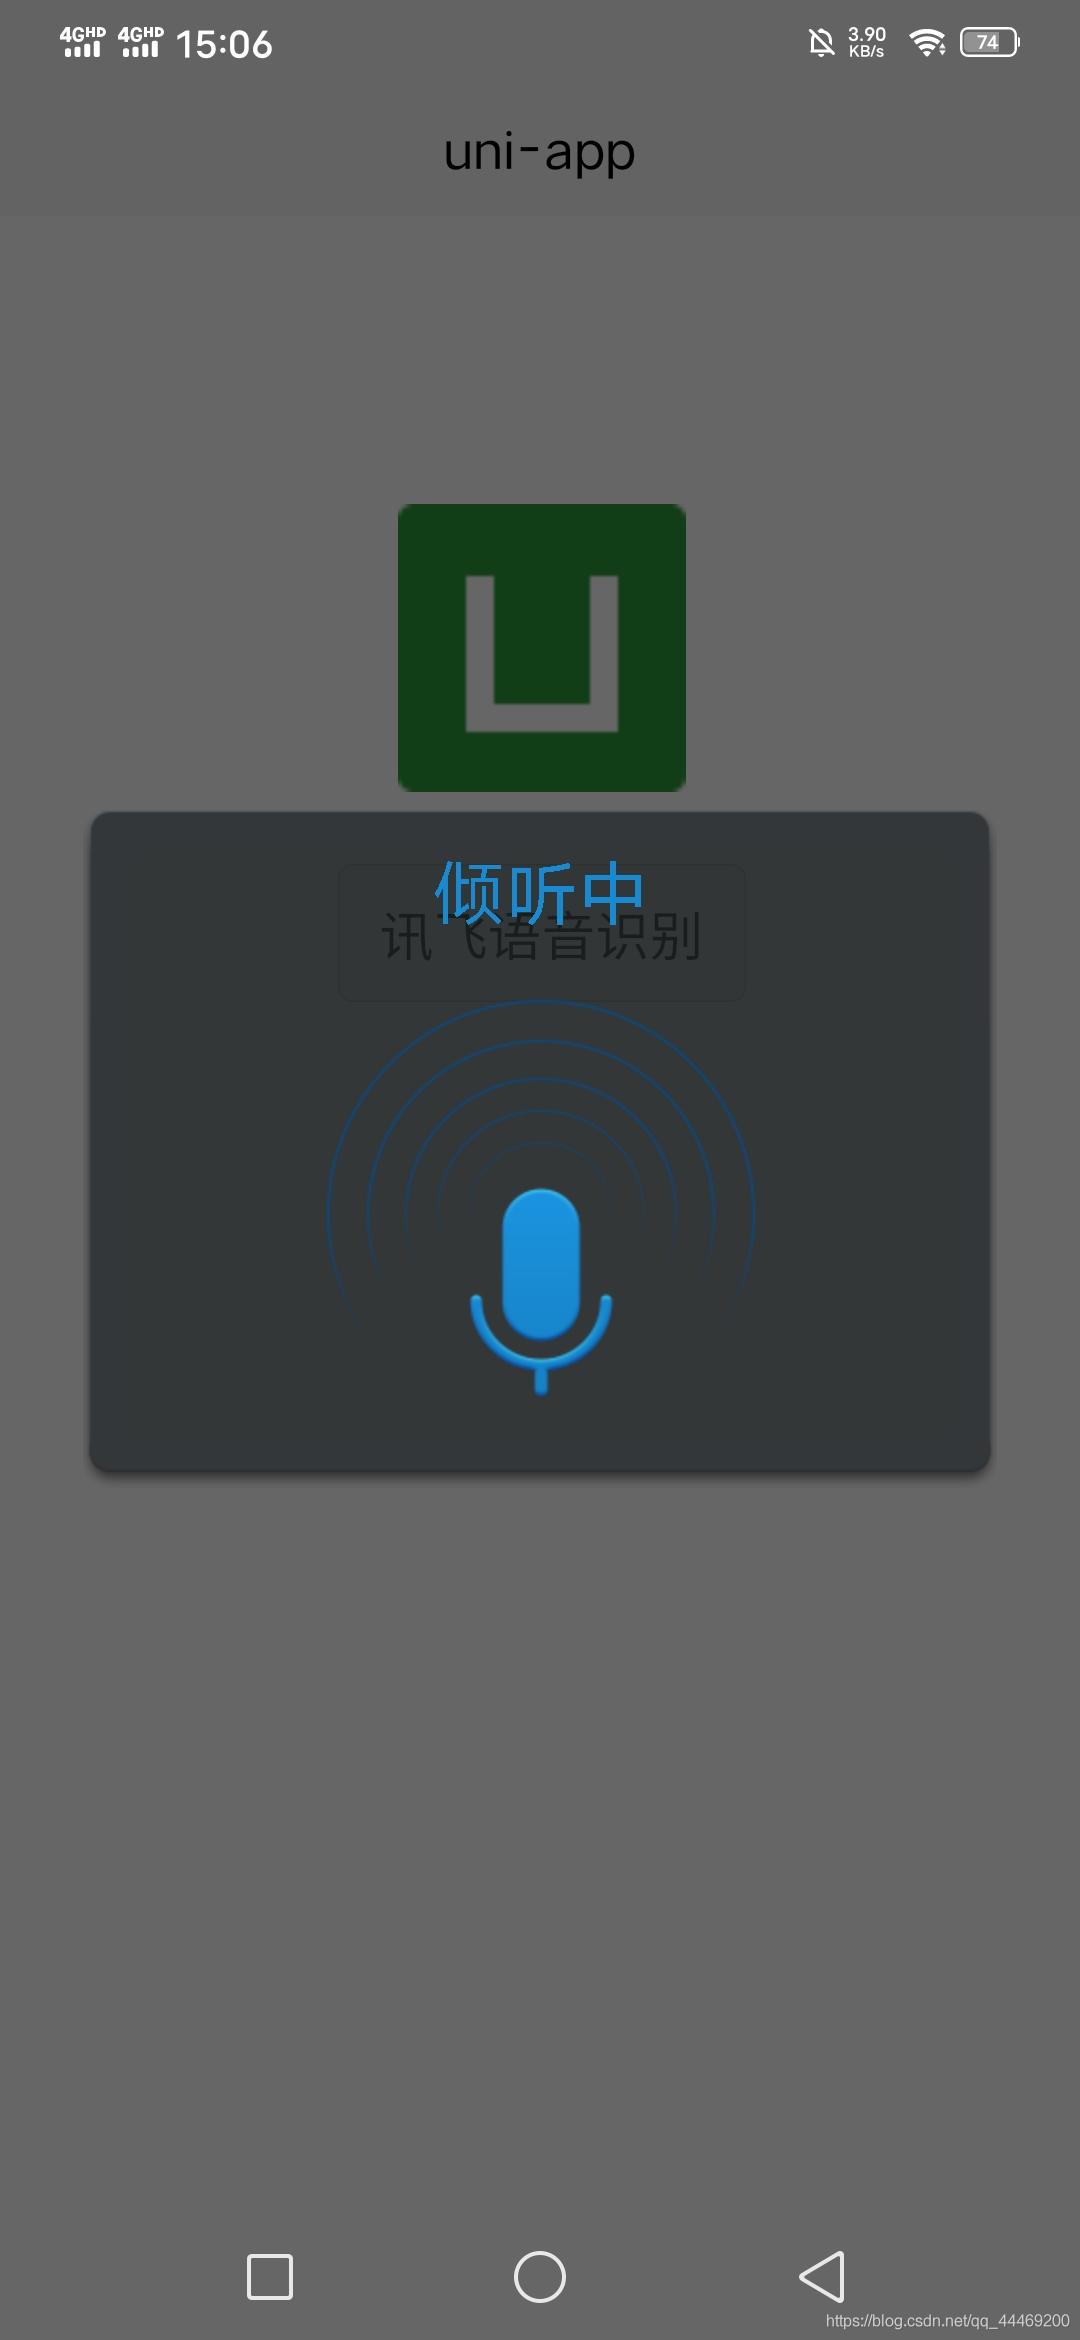
運行雲打包或自定義調試基座生成 apk 文件,apk安裝到手機上;
點擊button按鈕,觸發自定義回調函數
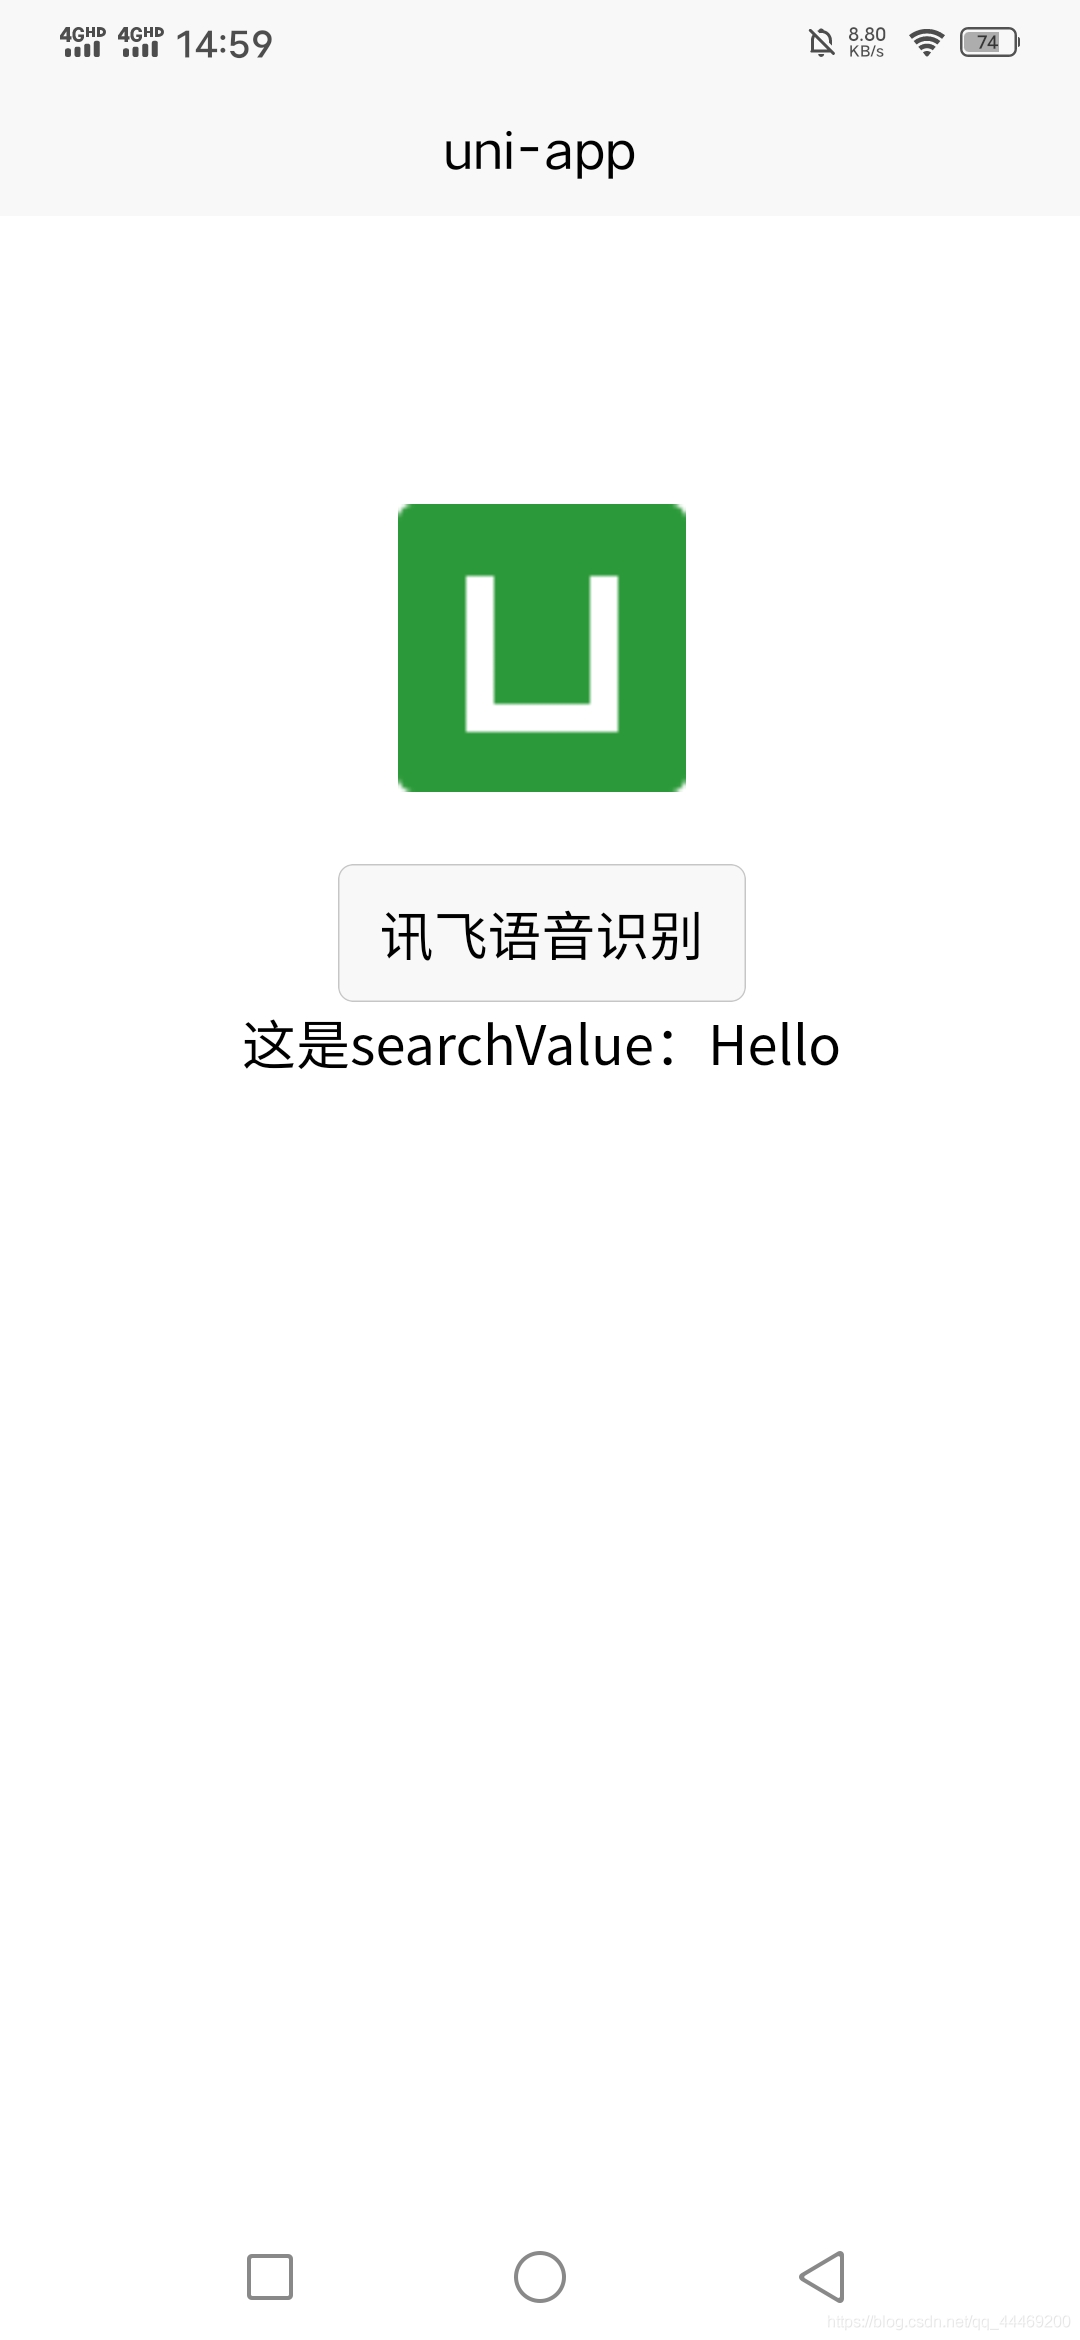
此時頁面輸出
註意:
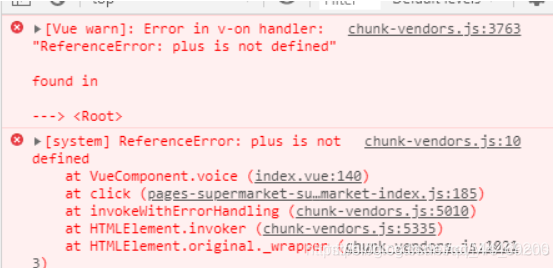
普通瀏覽器裡沒有 plus 環境,隻有 HBuilder 真機運行和打包後才能運行plus api。否則報錯:
以上就是uniapp語音識別(訊飛語音)轉文字的詳細內容,更多關於uniapp語音識別(訊飛語音)轉文字的資料請關註WalkonNet其它相關文章!