Vue和Flask通信的實現
安裝axios和實現通信
這裡我們通過axios來連接Vue前端和Flask後端,使用AJAX請求進行通信。使用如下命令安裝
npm install axios
axios的使用格式:
import axios from 'axios';
  export default {
    data: function () {
      return {
        serverResponse: 'res_test'
      };
    },
    methods: {
      getData() {
        // 設置對應python的接口,這裡使用的是localhost:5000
        const path = 'http://127.0.0.1:5000/getMsg';
        // 這裡要使用 res =>表示返回的數據
        axios.get(path).then(res => {
          // 這裡服務器返回response為一個json對象
          // 通過.data來訪返回的數據,然後在通過.變量名進行訪問
          // 可以直接通過response.data取得key-value
          var msg = res.data.msg;
          this.serverResponse = msg; // 因為不能直接使用this作為指針,因此在這之前將this賦給瞭then指針
          alter('Success' + response.status + ',' + response.data + ',' + msg); // 成功後顯示提示
        }).catch(error => {
          console.error(error);
        });
      }
    },
  }
代碼及演示
前端代碼
對./components/HelloWorld.vue文件進行改寫。代碼如下:
<!-- html部分 -->
<template>
  <div>
    <span>{{ serverResponse }}</span>
    <!--這裡使用{{}}來引用JavaScript中賦給this的值-->
    <button @click="getData">get data</button>
  </div>
</template>
<!-- js部分 -->
<script>
  import axios from 'axios';
  export default {
    data: function () {
      return {
        serverResponse: 'res_test'
      };
    },
    methods: {
      getData() {
        // 設置對應python的接口,這裡使用的是localhost:5000
        const path = 'http://127.0.0.1:5000/getMsg';
        axios.get(path).then(res => {
          // 這裡服務器返回response為一個json對象
          // 通過.data來訪返回的數據,然後在通過.變量名進行訪問
          // 可以直接通過response.data取得key-value
          var msg = res.data.msg;
          this.serverResponse = msg; // 因為不能直接使用this作為指針,因此在這之前將this賦給瞭then指針
          alter('Success' + response.status + ',' + response.data + ',' + msg); // 成功後顯示提示
        }).catch(error => {
          console.error(error);
        });
      }
    },
  }
</script>
<!-- css部分 -->
<!-- Add "scoped" attribute to limit CSS to this component only -->
<style scoped>
  h1,
  h2 {
    font-weight: normal;
  }

  ul {
    list-style-type: none;
    padding: 0;
  }

  li {
    display: inline-block;
    margin: 0 10px;
  }

  a {
    color: #42b983;
  }
</style>
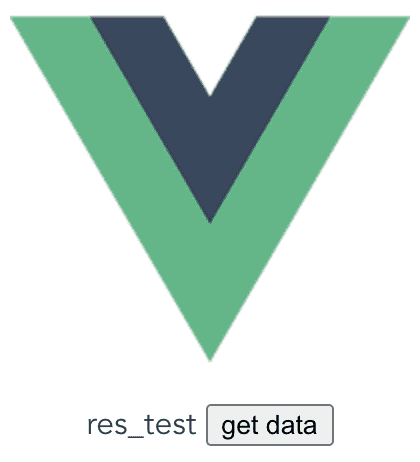
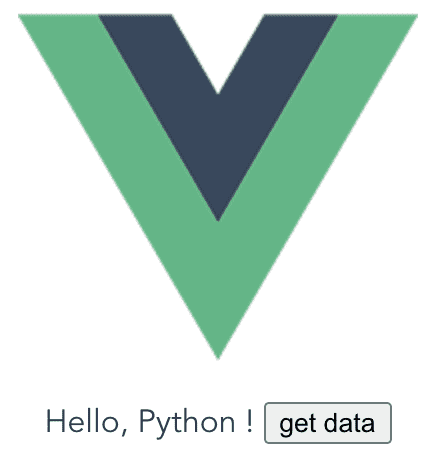
這裡主要實現瞭通過單擊按鈕來和服務器端進行交互獲得數據並傳回前端,將得到的數據重新來對前端進行渲染。

得到如上頁面之後,我們單擊get date按鈕,就會像後端發送GET請求,後端服務器監聽到請求之後就會返回對應的數據。

客戶端代碼
from flask import Flask
from flask import jsonify
from flask_cors import CORS

app = Flask(__name__)
cors = CORS(app, resources={r"/getMsg": {"origins": "*"}})


@app.route('/')
def hello_world():
    return 'test!'

# 監聽127.0.0.1:5000/getMsg請求
@app.route('/getMsg', methods=['GET', 'POST'])
def home():
    response = {
        'msg': 'Hello, Python !'
    }
    return response


if __name__ == '__main__':
    app.run()
到此這篇關於Vue和Flask通信的實現的文章就介紹到這瞭,更多相關Vue和Flask通信內容請搜索WalkonNet以前的文章或繼續瀏覽下面的相關文章希望大傢以後多多支持WalkonNet!