spring boot寫java web和接口
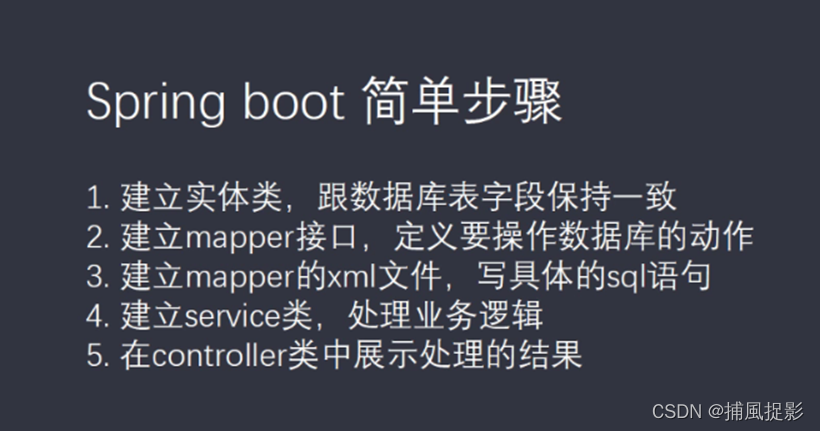
流程:

Springboot開發過程

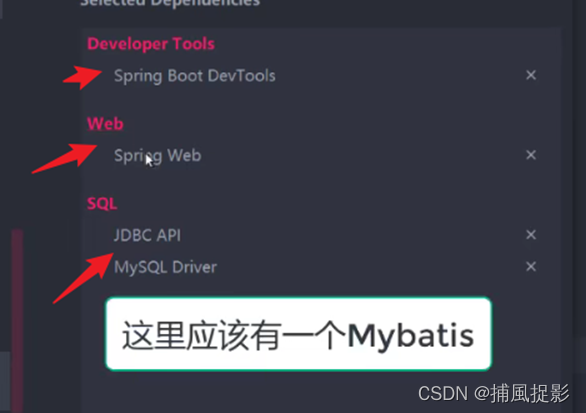
還有一個是mybatis的依賴
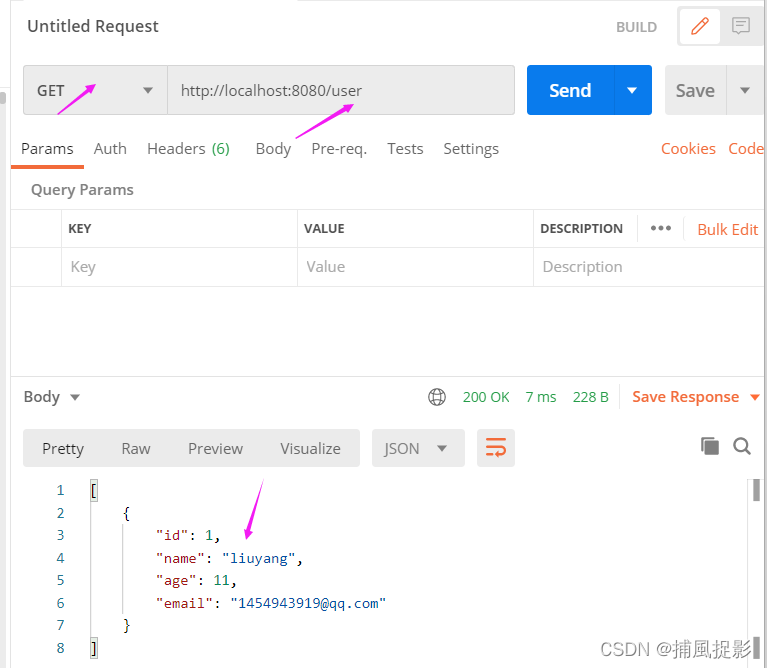
測試接口
@RestController

public class Hello {
    @RequestMapping("/hello")
    public String hello(){
        return "helloworld";
    }

}
***.yml文件配置
spring:
      datasource:
            driver-class-name: com.mysql.cj.jdbc.Driver
            url: jdbc:mysql://localhost:3306/student?useUnicode=true&useSSL=false&characterEncoding=utf8&serverTimezone=Asia/Shanghai
            username: root
            password: 123456
mybatis:
      mapper-locations: classpath:mapper/*.xml
數據庫字段:

pojo
@Data
public class User {
    private  int id ;
    private String name;
    private int age;
    private String email;
    *****
剩下的就是get和set方法自行完成
mapper
@Mapper
public interface UserMapper {
    List<User> findAll();
}
如果是springboot,在啟動類中使用@MapperScan(“mapper接口所在包全名”)即可,不用一個一個的在Mapper接口中加@Mapper註解。@Mapper註解是識別他為mybatis的mapper接口,會自動的把 加@Mapper 註解的接口生成動態代理類。
讓springboot認識你的mapper層,也可以在啟動類上面加MapperScan(“mapper層所在包的全名”)
mapper.xml
<?xml version="1.0" encoding="UTF-8" ?>
<!DOCTYPE mapper PUBLIC "-//mybatis.org//DTD Mapper 3.0//EN" "http://mybatis.org/dtd/mybatis-3-mapper.dtd" >
<mapper namespace="com.liuyang.mapper.UserMapper">
    <select id="findAll" resultType="com.liuyang.entity.User">
        SELECT * FROM user
    </select>
</mapper>
controller
@RestController
public class UserController {

    @Autowired
    //把userService實例化
    private UserService userService;
    @RequestMapping("/user")
    public List<User> getUser(){

        return userService.findAll();

    }

}
註意一定要把userService 註入到容器中

數據成功拿到
推薦閱讀:
- 淺談MyBatis執行SQL的兩種方式
- SpringBoot集成mybatis連接oracle的圖文教程
- 使用Spring Boot實現操作數據庫的接口的過程
- springboot整合mybatis-plus實現多表分頁查詢的示例代碼
- SpringBoot MyBatis簡單快速入門例子